How to Ferment Cannabis Buds at Home “Malawi Gold” Style
Fermenting cannabis is easy and takes no more effort than the typical trimming, drying, and jarring process. The main difference is that there will be less trimming and less drying, and the buds will be compacted and vacuum sealed. I did not invent this method and many thanks and praises are given to my teachers and the ancient ones for passing on the wisdom of fermenting Herb. It is by their grace that I was able to learn this method.

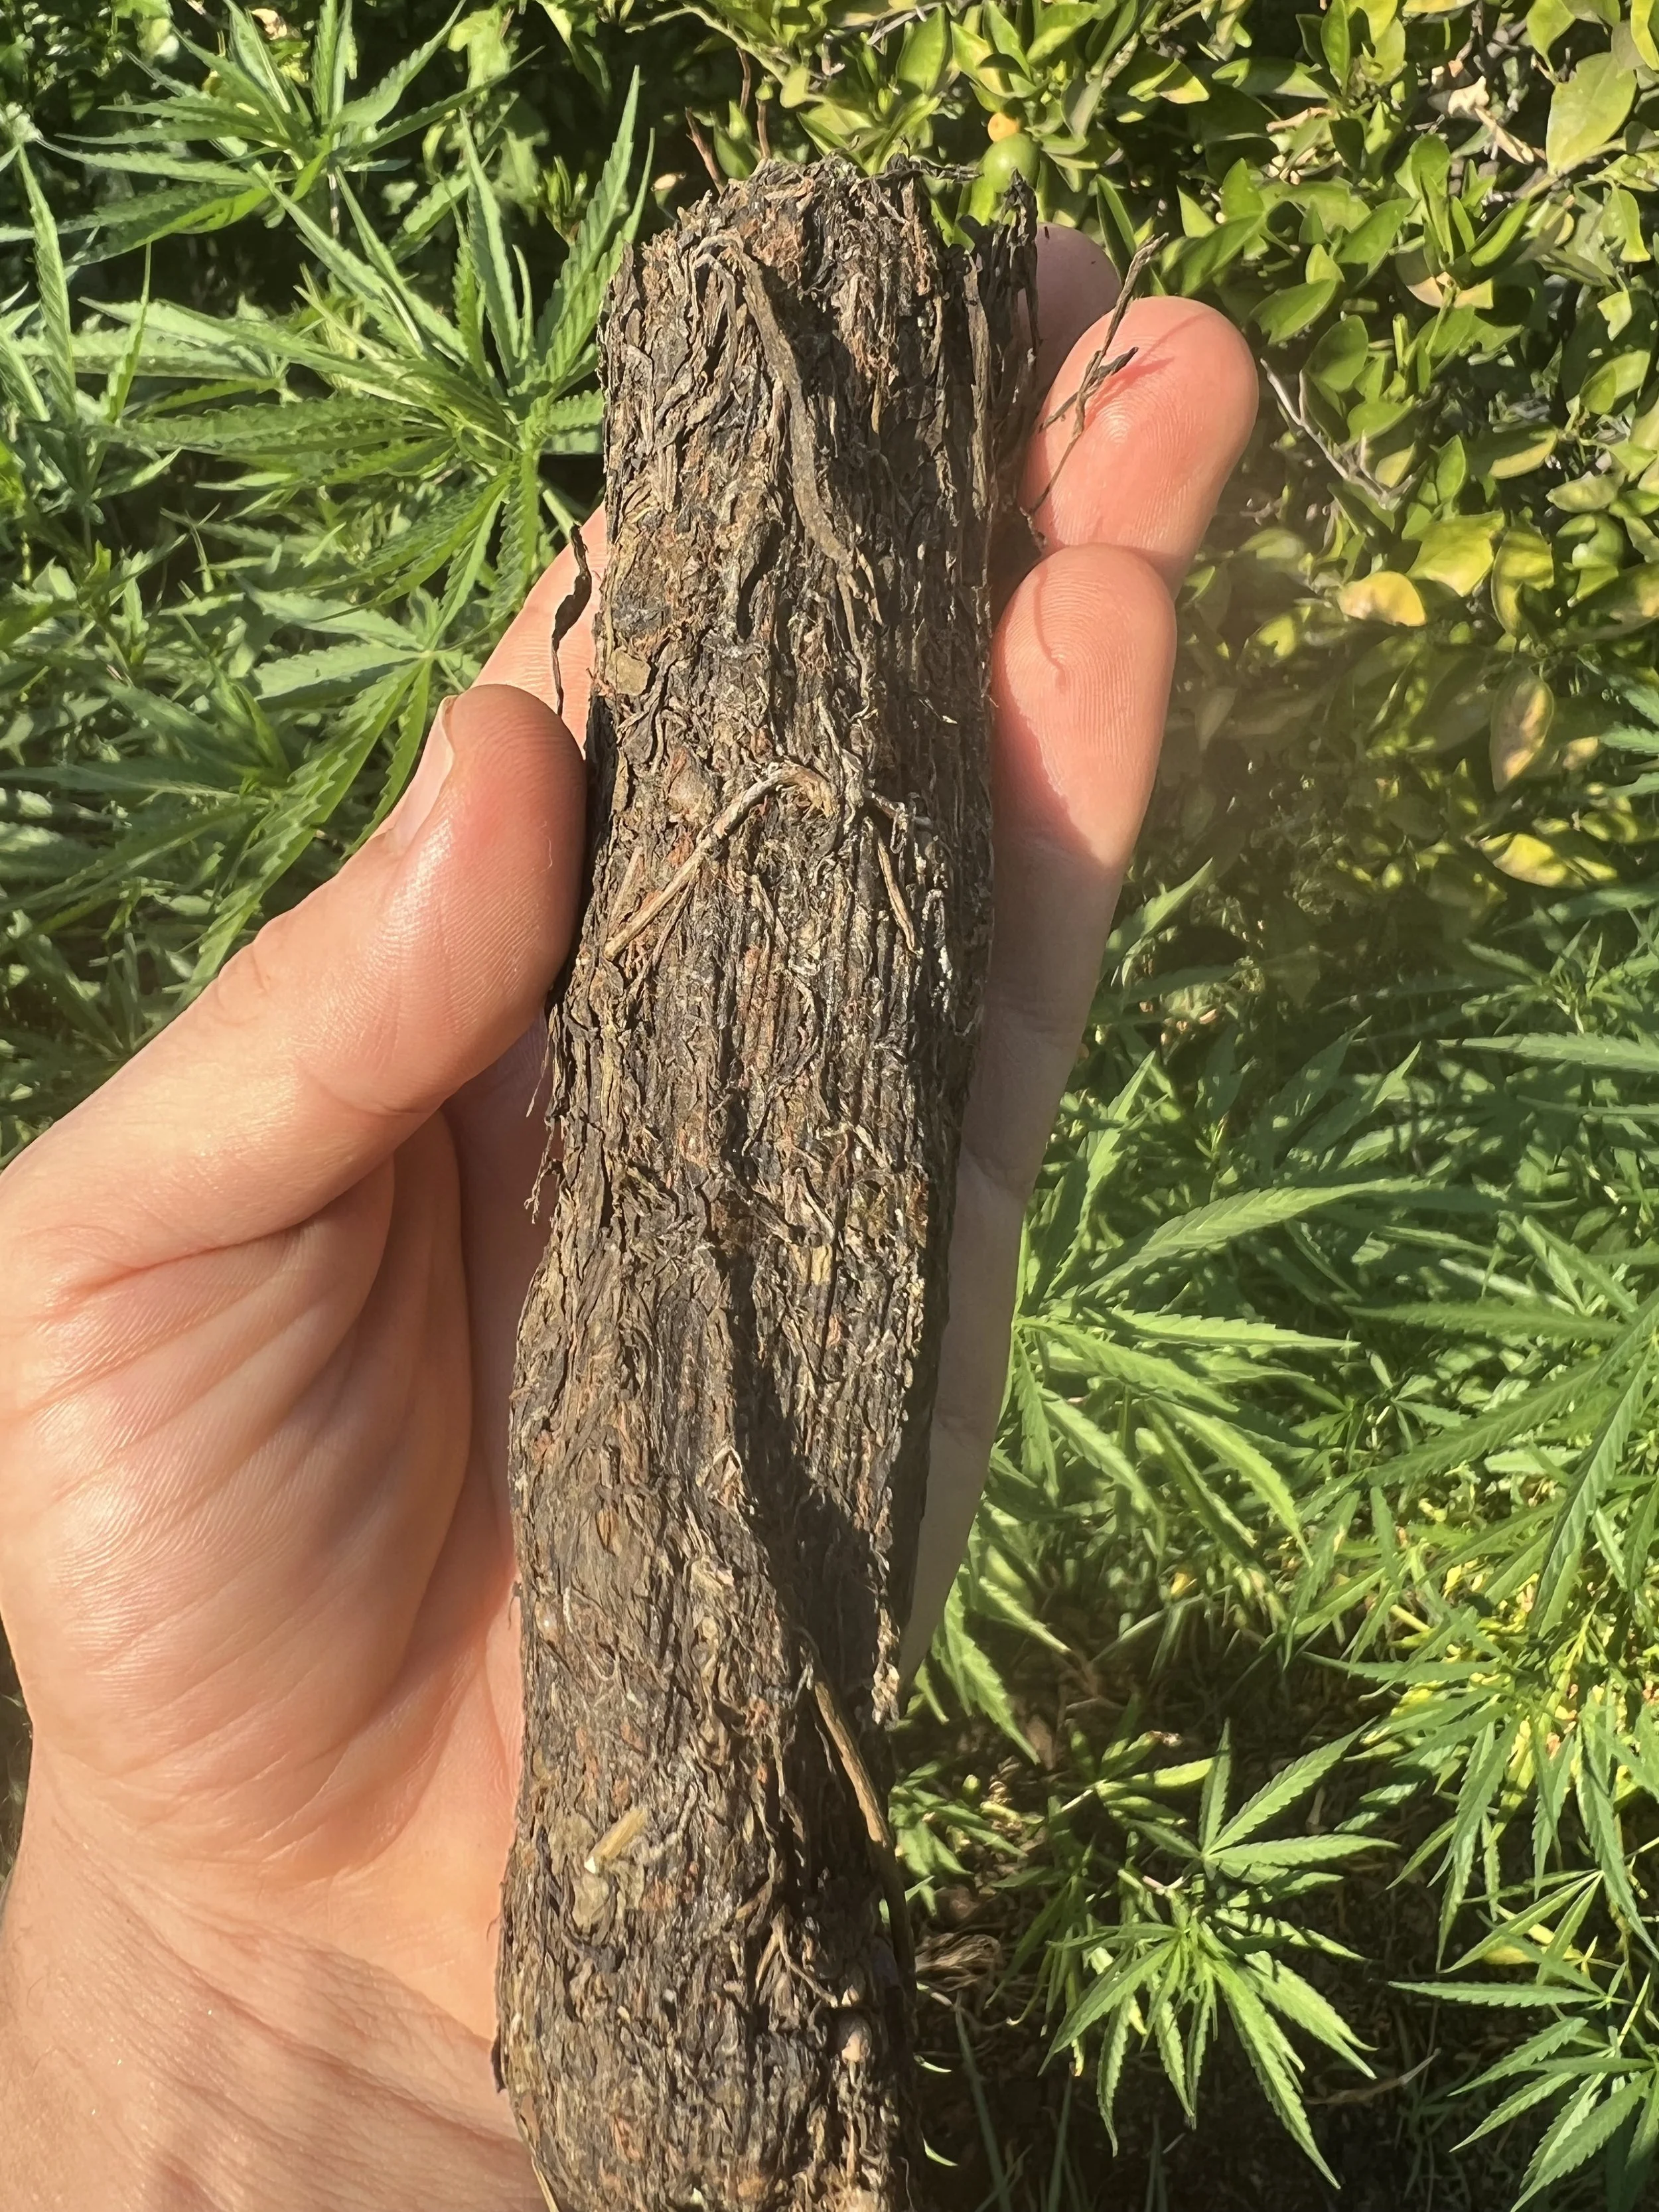
Fully finished fermented "cob". Made with Peruvian Heirloom, aged 7 months
The method described is my take on how I ferment herb and is solely based on my experiences and preferences.
Let’s begin with the supplies required:
Vacuum Sealer - For creating an oxygen-deprived environment for the herb to ferment and cure without growing mold. Any model will do but here is one I can recommend
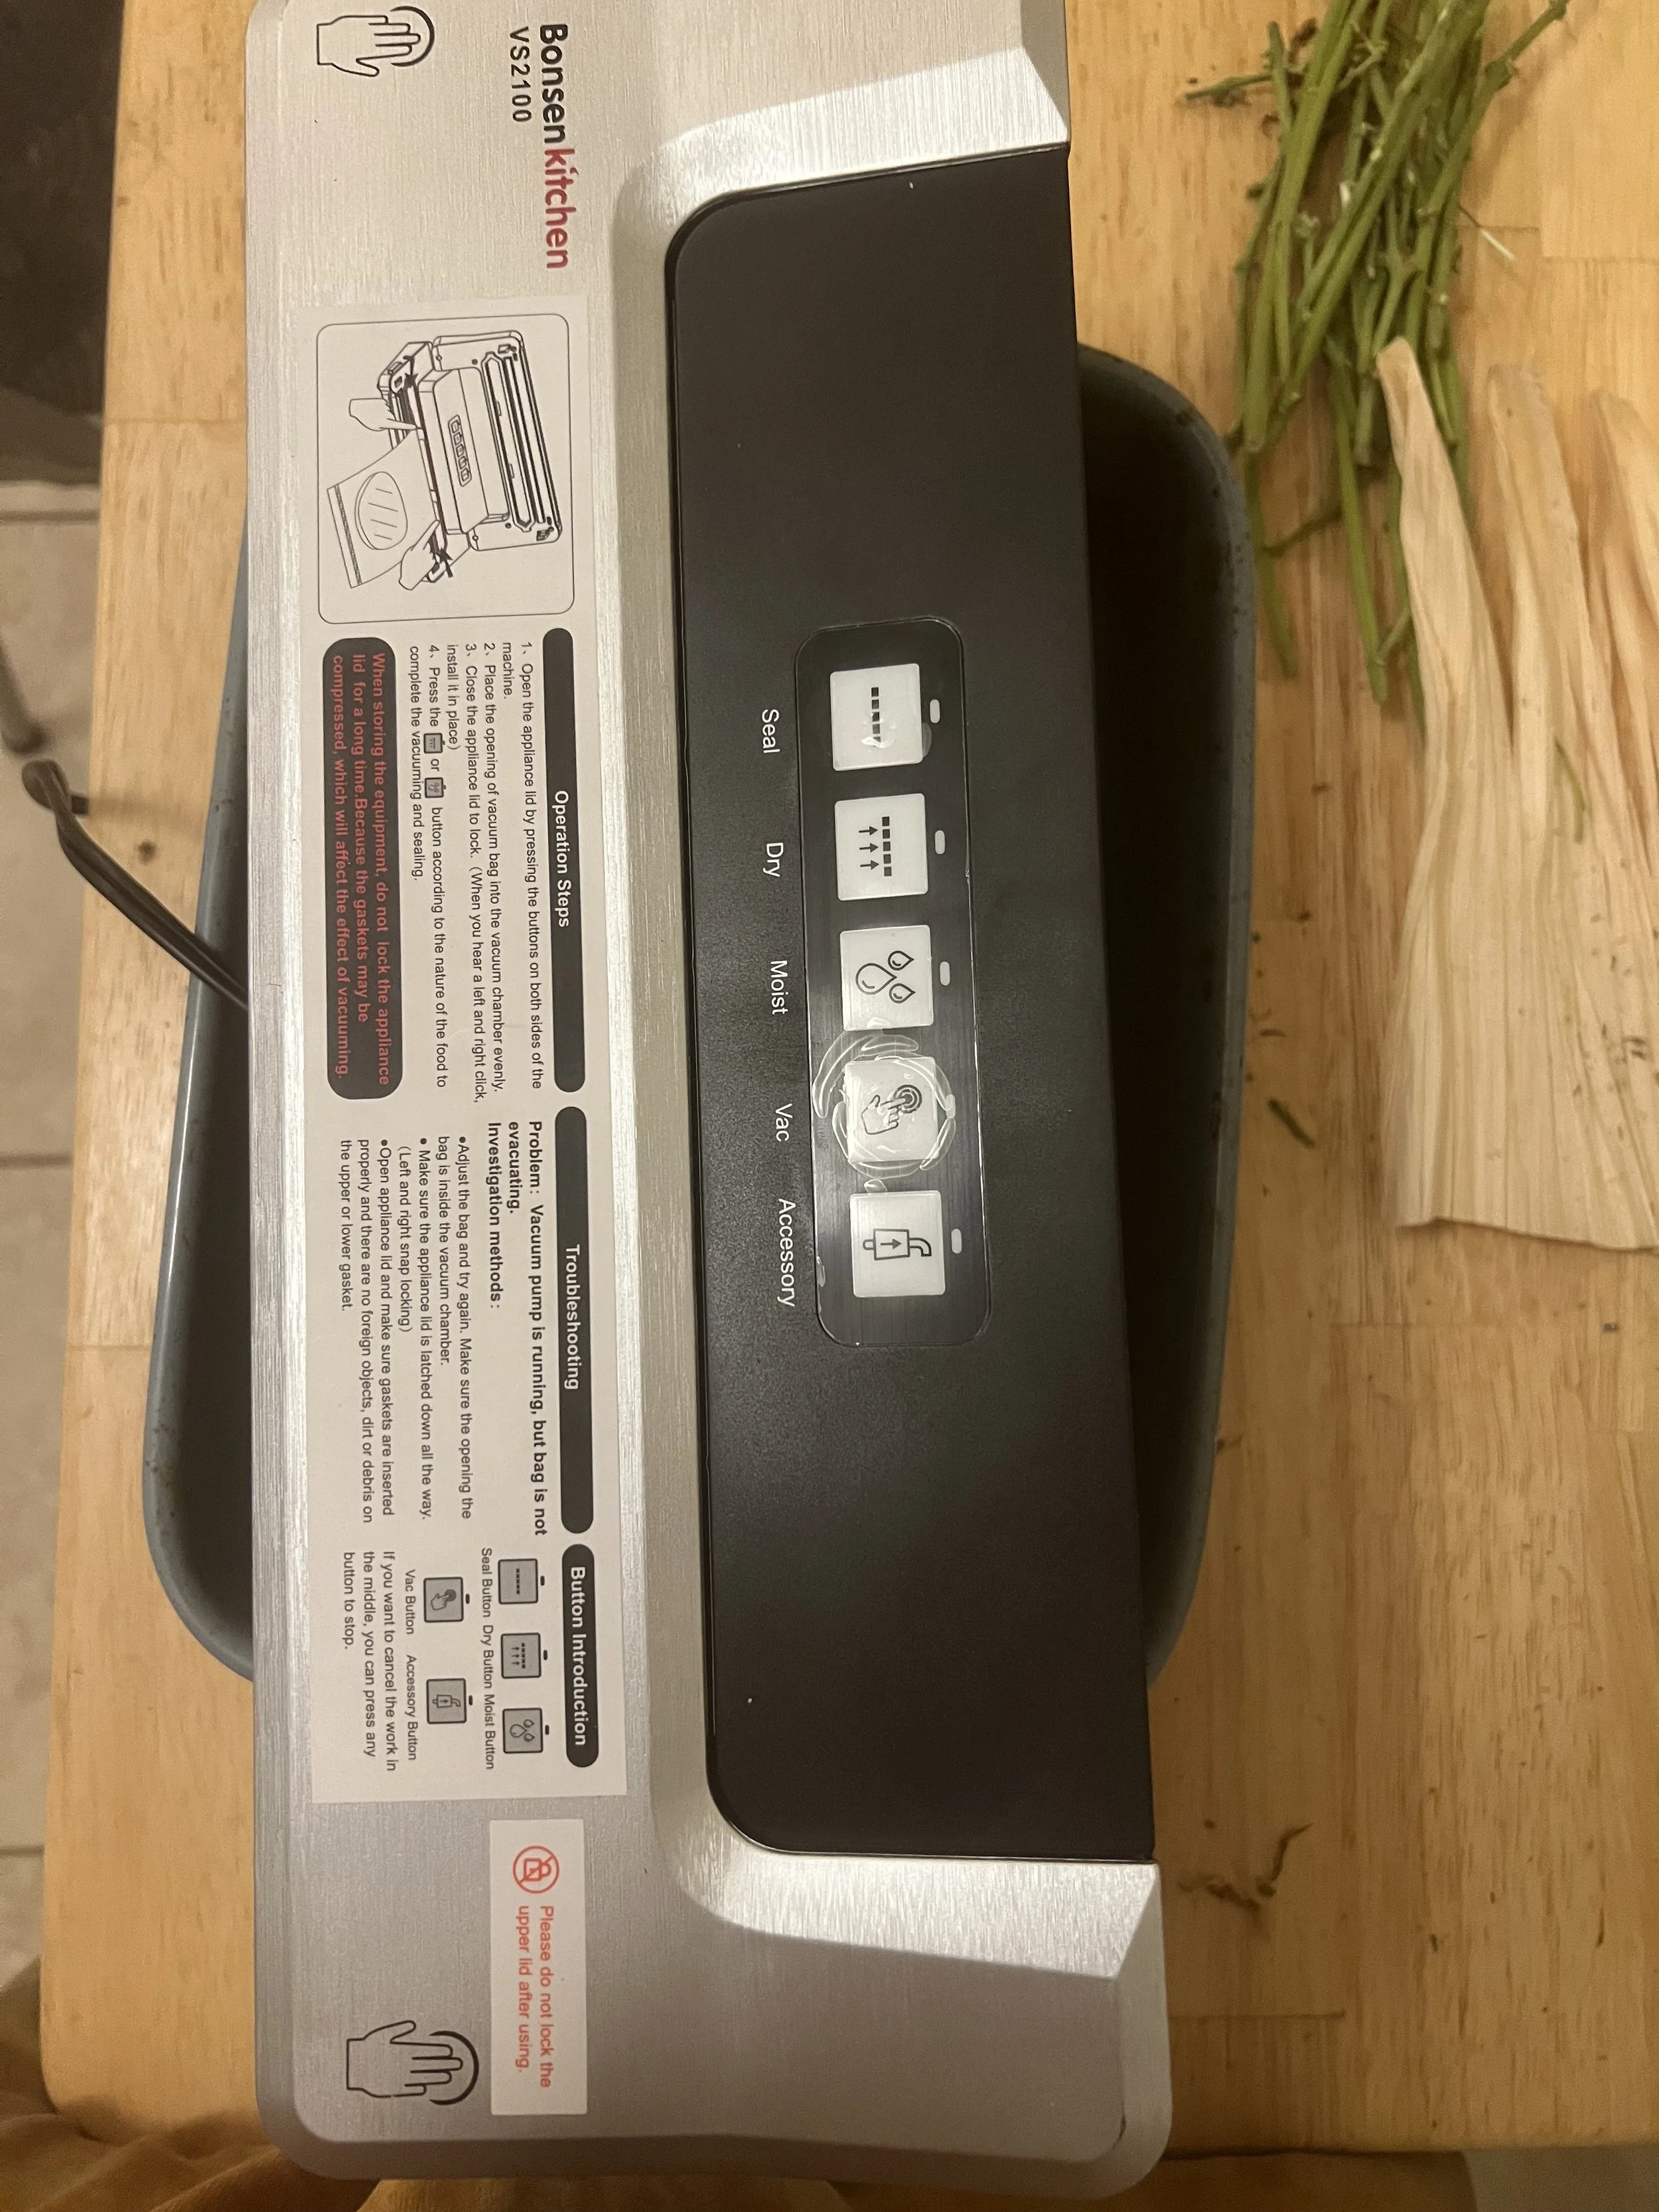
This was simple and cost effective machine that has served me well
Drying Space - For the flowers to dry for +/- 3 days. I use a hanging drying rack like this one. But you can even just hang the whole plant upside down from a clothesline, or hang indivudal branches on clothes hangers. As long as the plant is in a secure, dark place you are good to go.
Scissors - To cut the buds off of the stems. If you want quality scissors these work well.
Corn Husk/Banana Leaves/Brown Paper - To wrap the herb in for curing. I enjoy growing my own corn husk, but I also use these when necessary, as they are natural and chemical free. This is important when considering that during fermentation we want to keep any harmful additives or chemicals, from leaching into the herb.
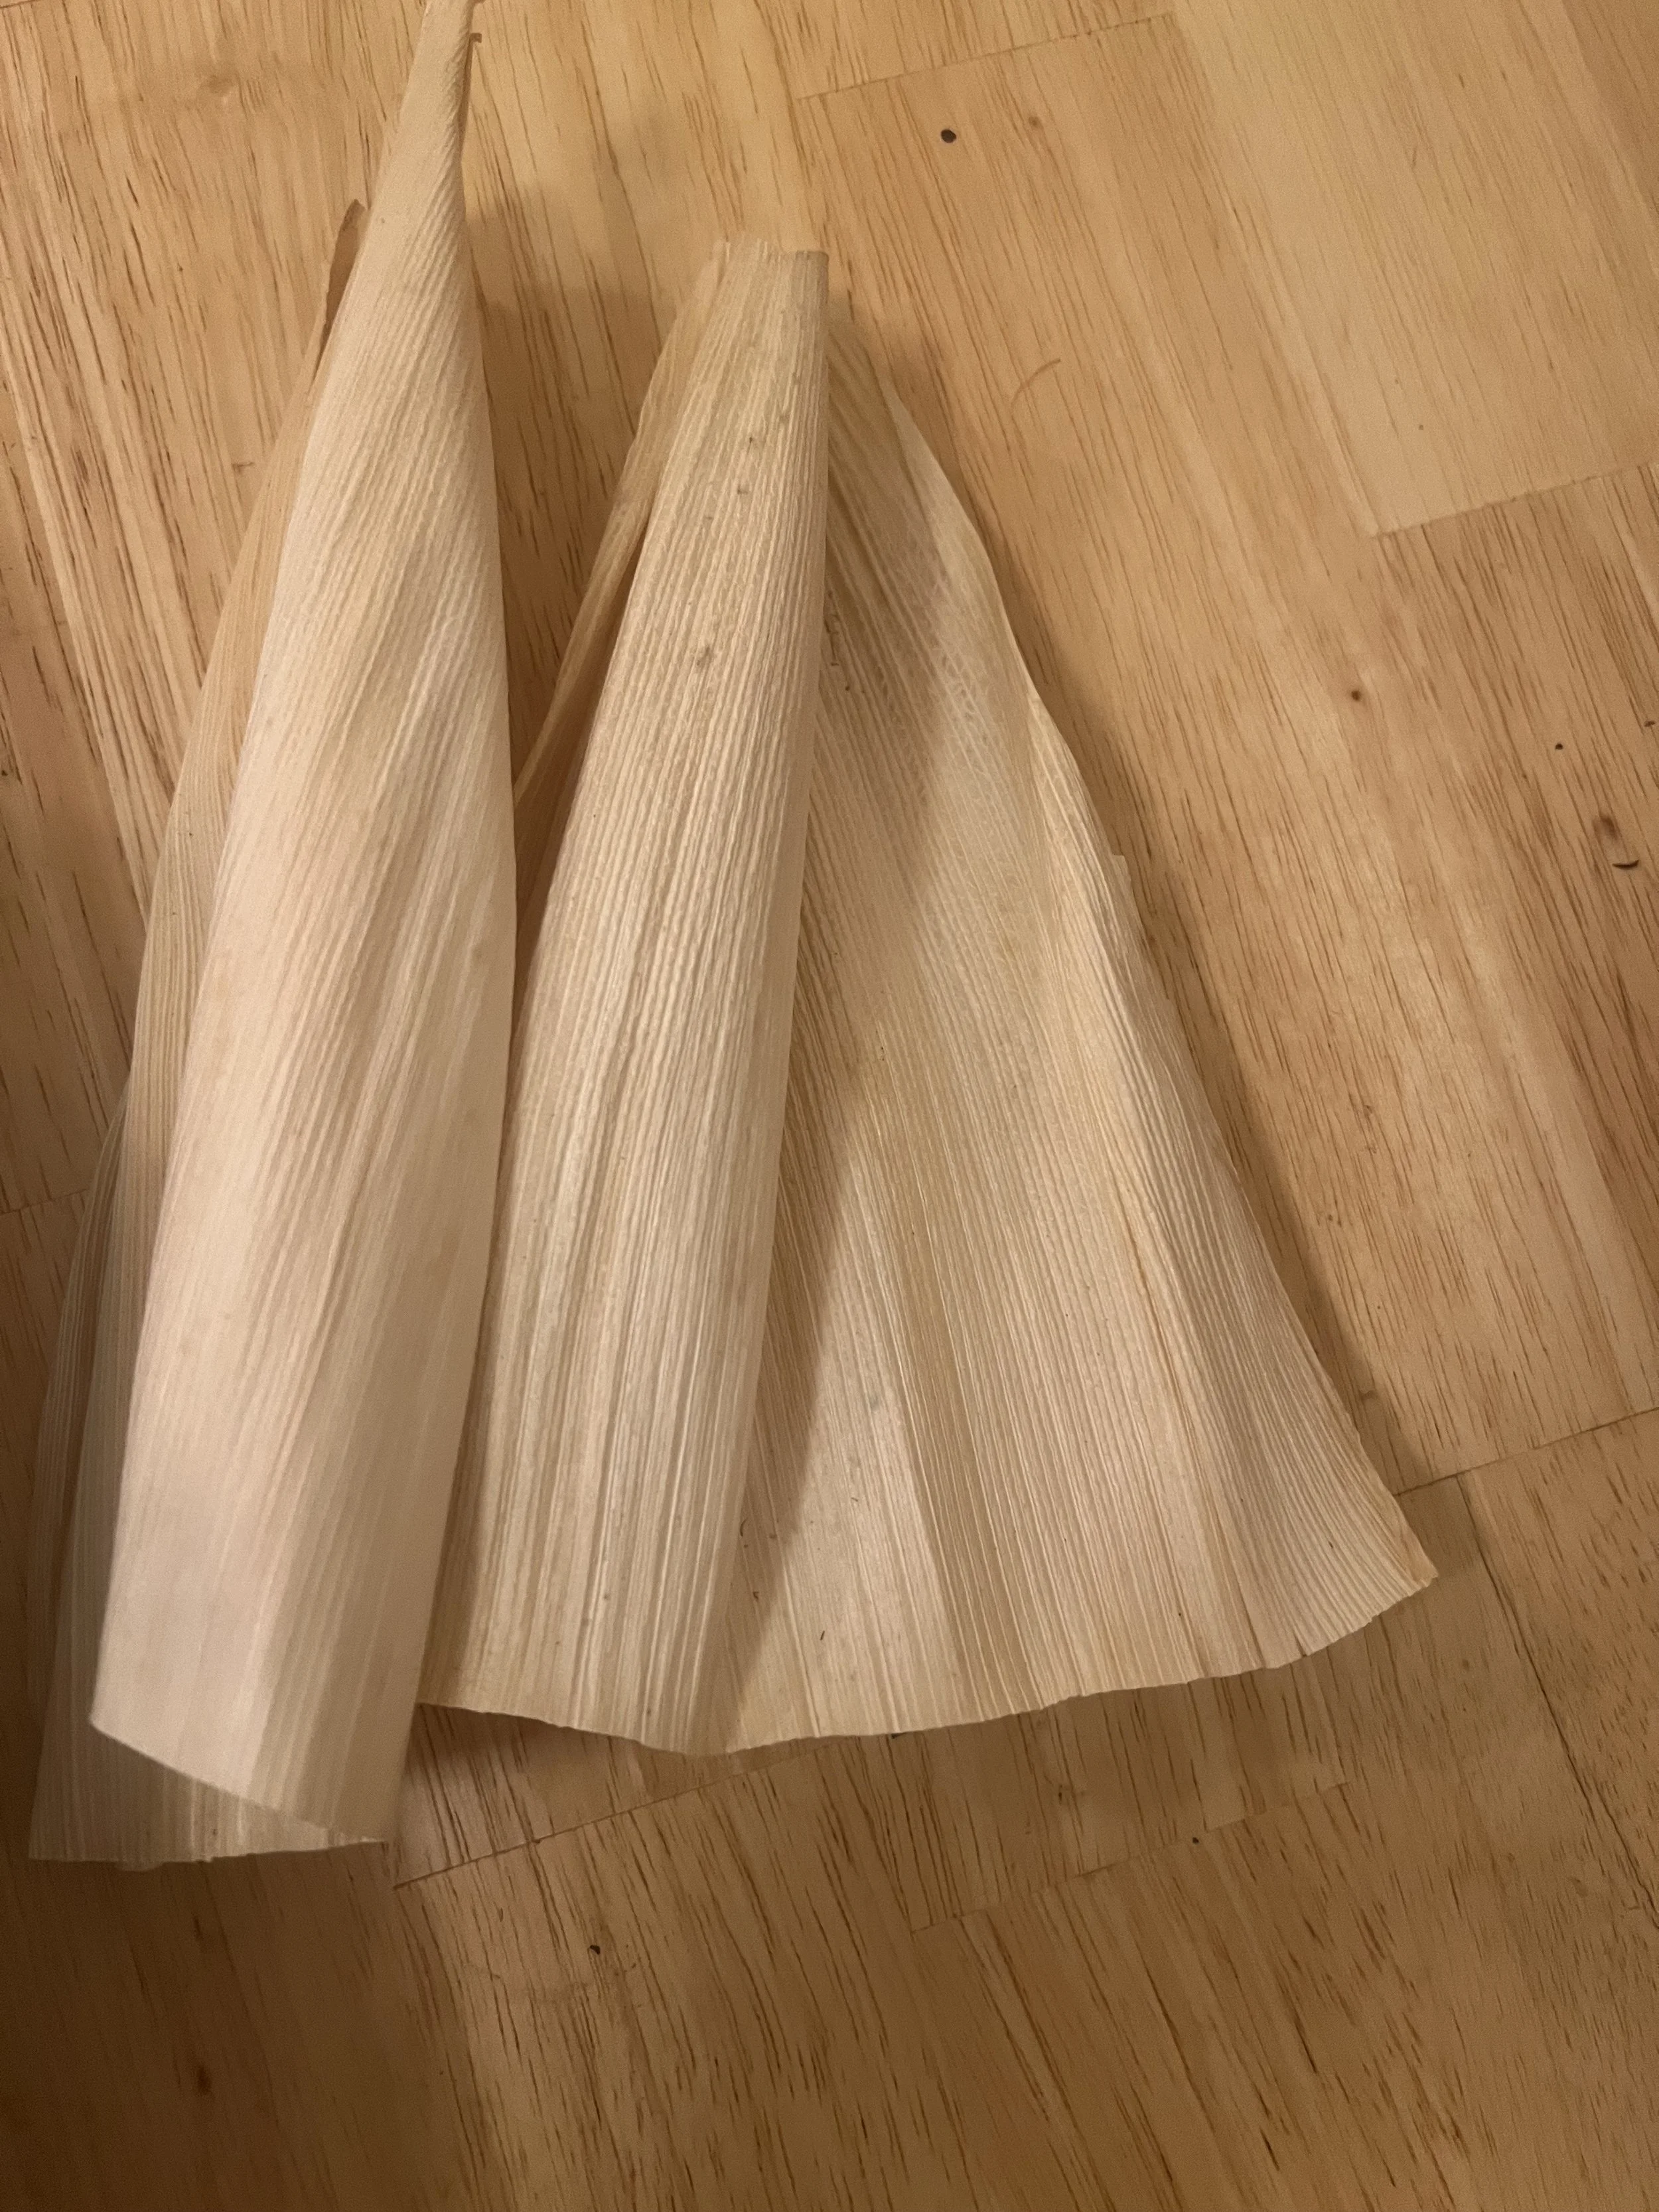
Natural and chemcial free corn husks. These are easy to source but I highly recommend growing your own heirloom corn.

Heirloom corn like this Purple Hopi is gorgeous and delicous.
Heating Source, Crock Pot, Yogurt Maker, Egg Incubator - To provide a stable temperature-controlled “sweat” for the buds. I use an Instant Pot, and a Reptile Egg Incubator to sweat and ferment the buds. But a Crock Pot or Yogurt Maker will also work. Anything that allows for constant, steady heat will do. It is best to investigate your heating options, as to best decide what will work for your space. You can even build your own heat source if you feel so inclined.
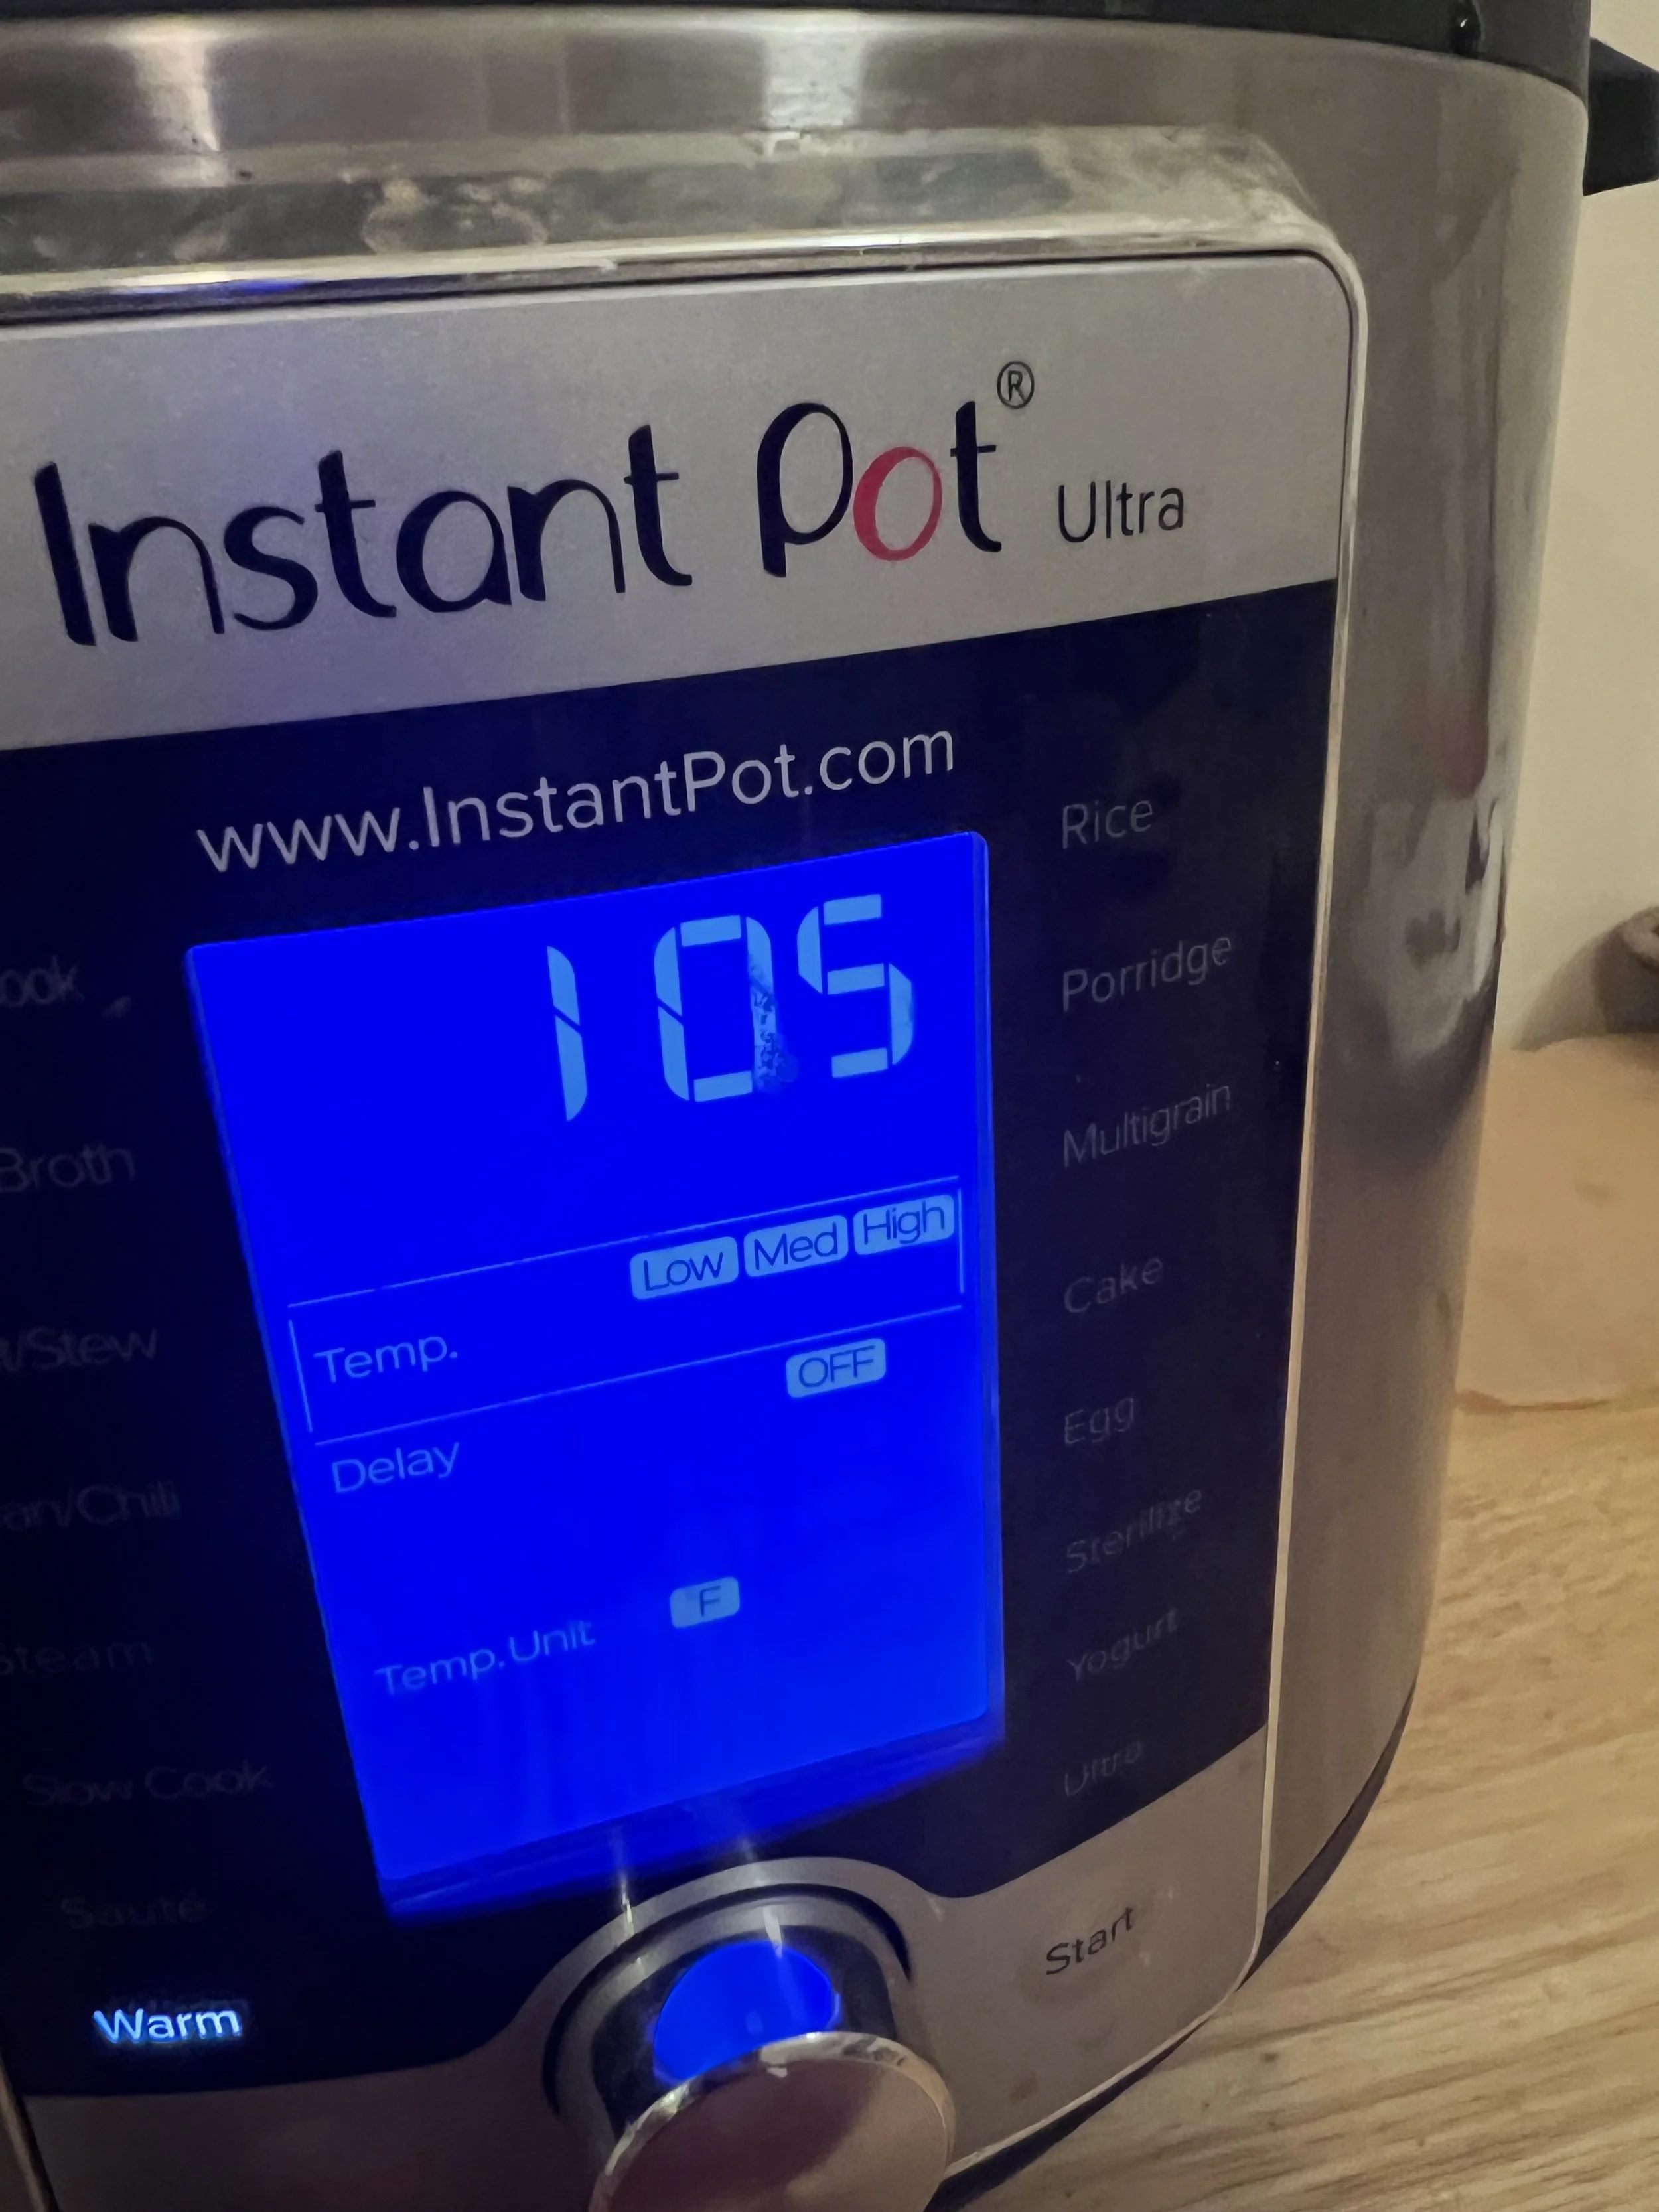
This crock pot/pressure cooker is perfect for "sweating" or "cooking" the herb.
Step one: Harvesting and Drying

A beautiful heirloom specimen ready for harvest.
Once your plant is at your desired ripeness (determined by trichome age and color), you will naturally cut it down. Take all of the fan leaves off as well as other leaves that have no usable trichomes as you will not need them, they can be composted. Next, you will hang your plants up to dry whole or cut the buds into more manageable-sized portions and place them on drying racks. Leave them to dry for around 1-3 days, or until about 50-60% of the moisture remains. You want it to be only partially dried so that there is enough moisture to help it ferment.

These buds are around 60% dry with the outer leaves becoming slighlty crispy.
Step Two: Cutting up the Buds

Partially dried buds ready to be removed from the stems.
Cut all the buds off of the main stems so that you end up with a nice pile of loose buds. This will make it easier to compress and roll into the wrappers.

Stems after buds have been removed.
Step Three: Filling, Compressing and Wrapping
Take your wrapper and begin to fill it with the loose buds, once it is full, either use a sushi rolling mat to roll and press the buds together inside the wrapper or use your hands to squeeze the buds tight. I keep it simple and use my hands, some like to use the rolling mat or a hydraulic press and others like to barely press at all, this is all personal preference. I find squeezing by hand to be sufficient, and it produces a compact but easy to break apart final prodcut. The benefit of pressing the buds is that it allows for the trichomes to burst and meld together while fermenting, which brings out new terpenes and cannabinoids, similar to the traditional methods of heating and pressing hashish before aging it. After you squeeze or press the buds tight, open the wrapper and continue to fill and press until the wrapper is almost full. Then tightly wrap it around the herb completely and wrap a cotton or hemp string around the husk tying it off to hold the skin in place.

Filling home grown corn husks with loose buds

For this project I used fresh banana petals from the garden.

Filled up and ready to compress
While going “naked” with your cobs (meaning no wrapper is used) is common and many enjoy the effects of this method, I prefer to use corn husk. This is simply because I enjoy the sweet flavor and smell that corn adds to the herb and it provides a barrier between the buds and the plastic bag it is sealed inside of. Also, I grow corn every year and this is a way for me to make good use of what otherwise might become a “waste byproduct”. Banana leaves used to wrap will produce a different flavor as will brown paper bags. Use whatever is easiest and most convenient, just make sure it is clean, and organic if possible. It is relatively easy to source natural and organic corn husks that are used for making Tamales through online vendors.

Peruvian herb freshly compressed.

Fully wrapped corn husk cob ready to sweat.
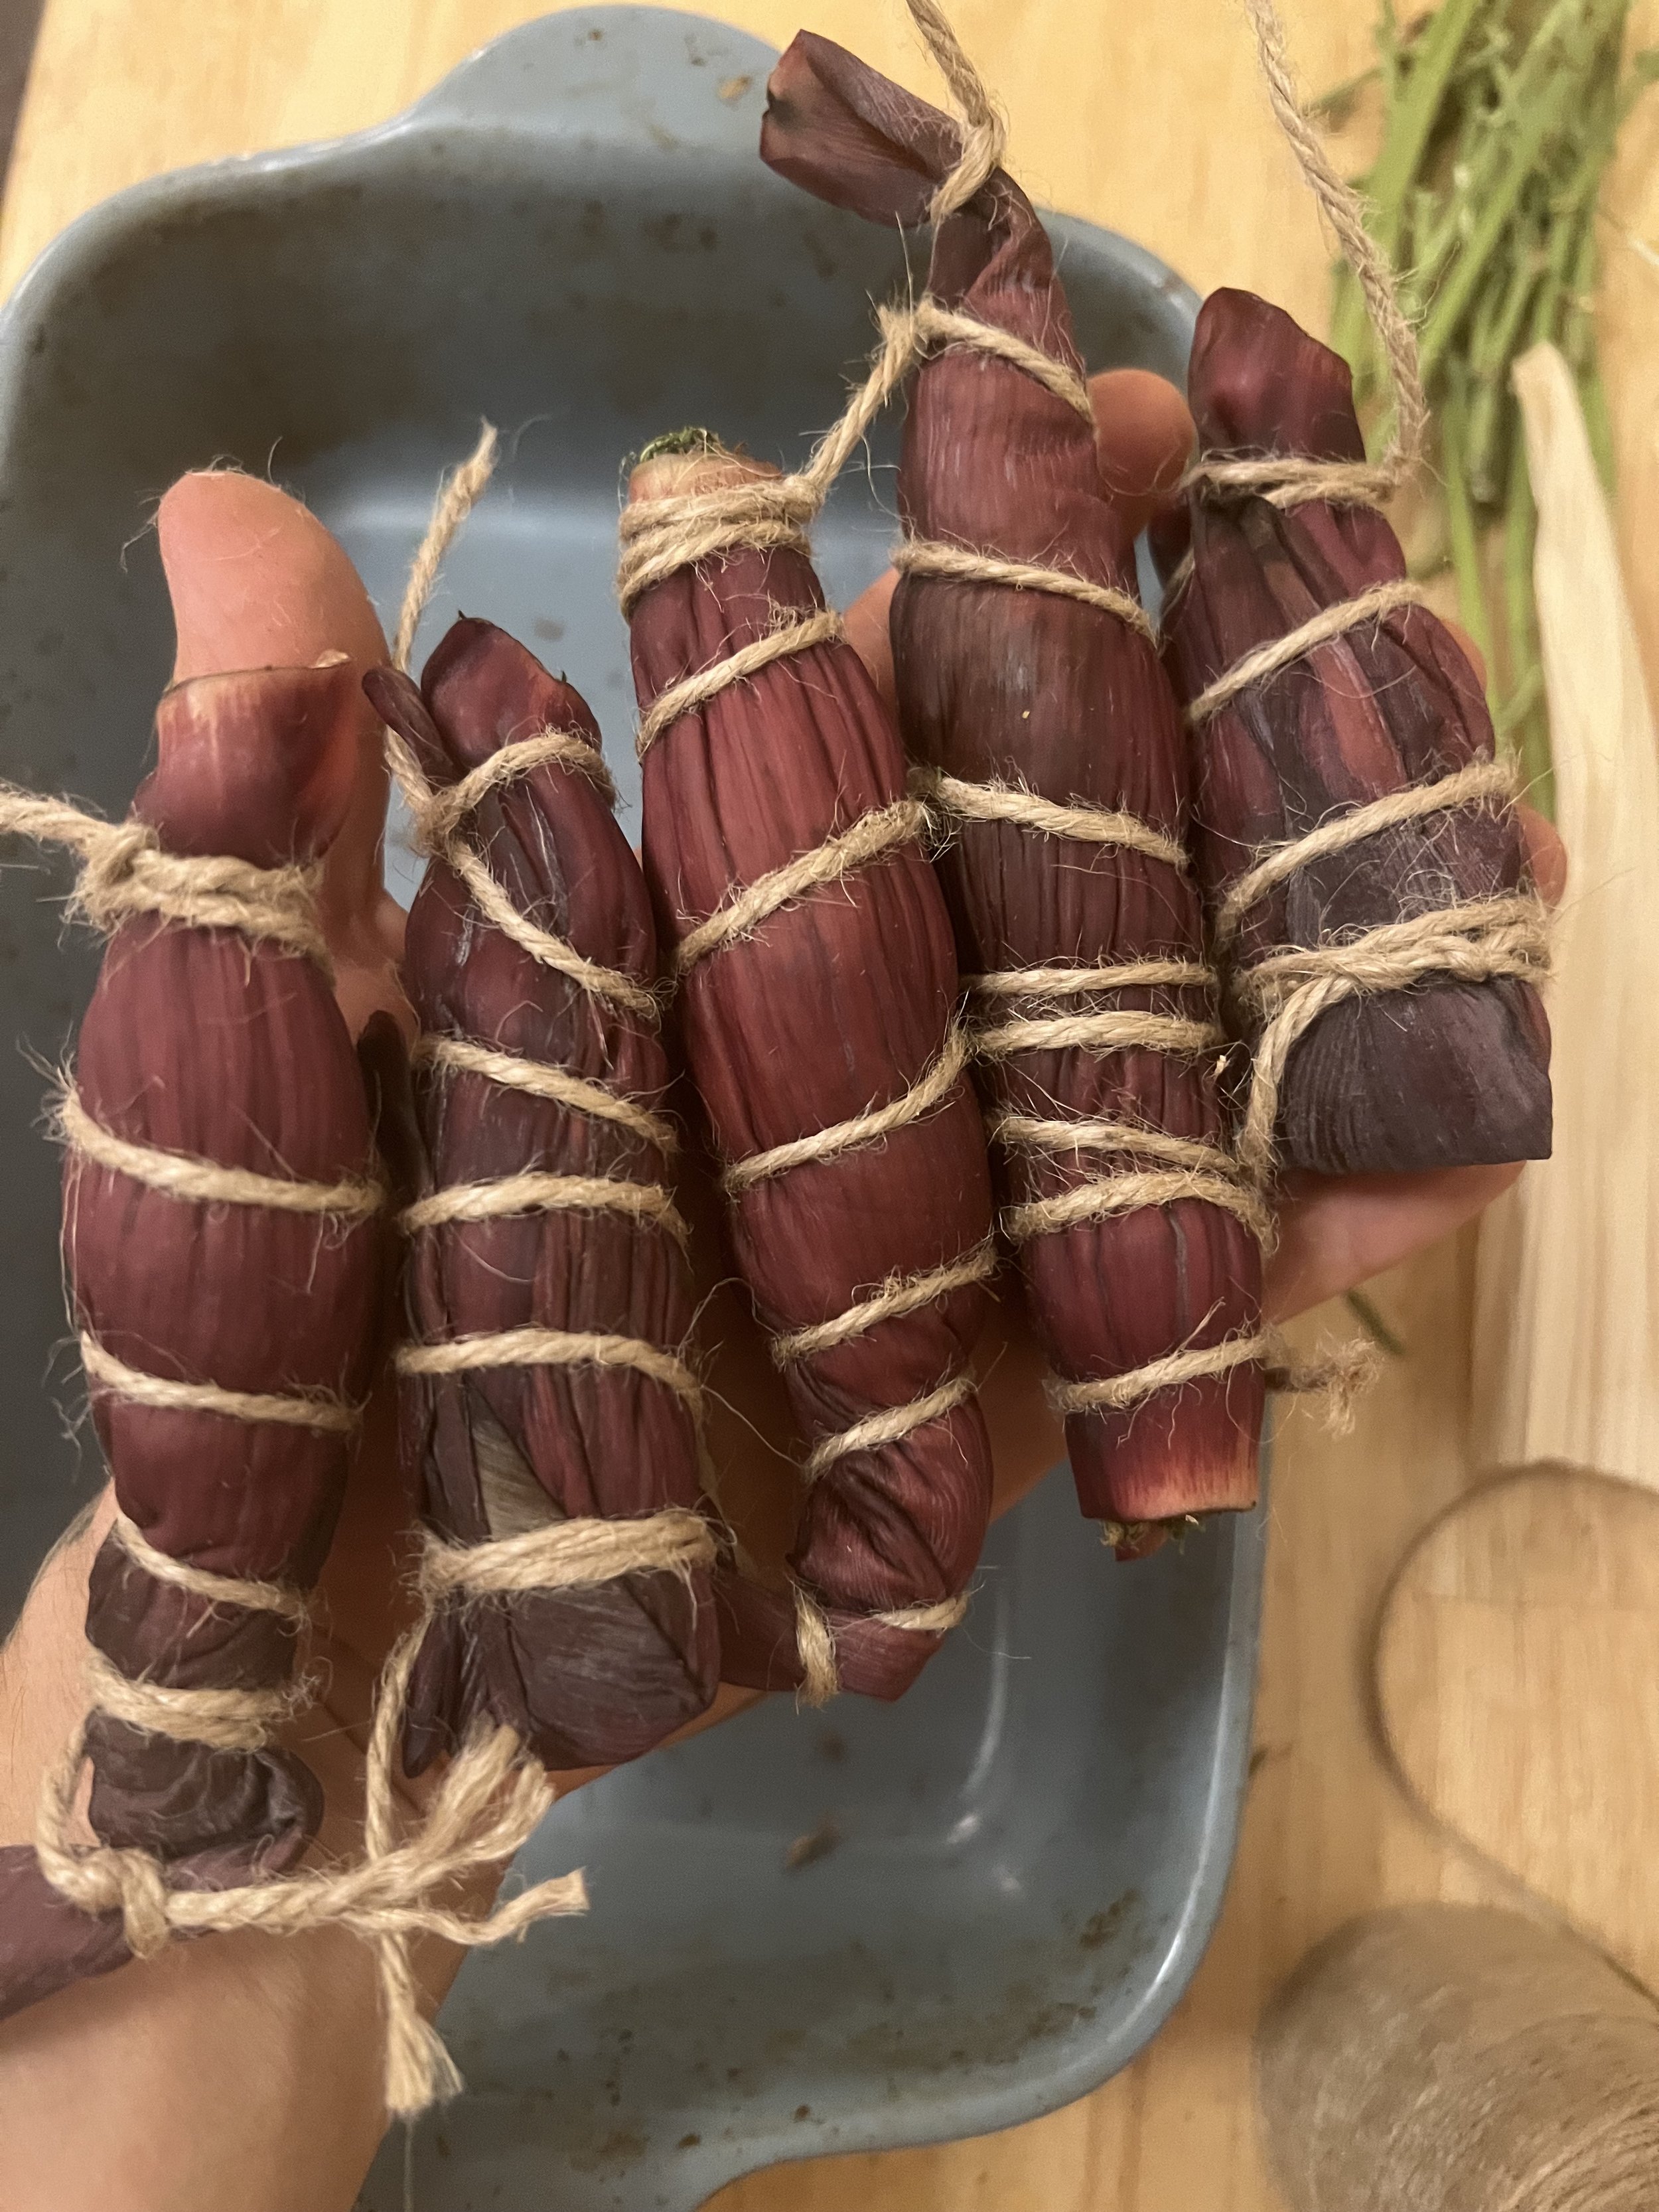
Banana petals filled and ready to sweat.
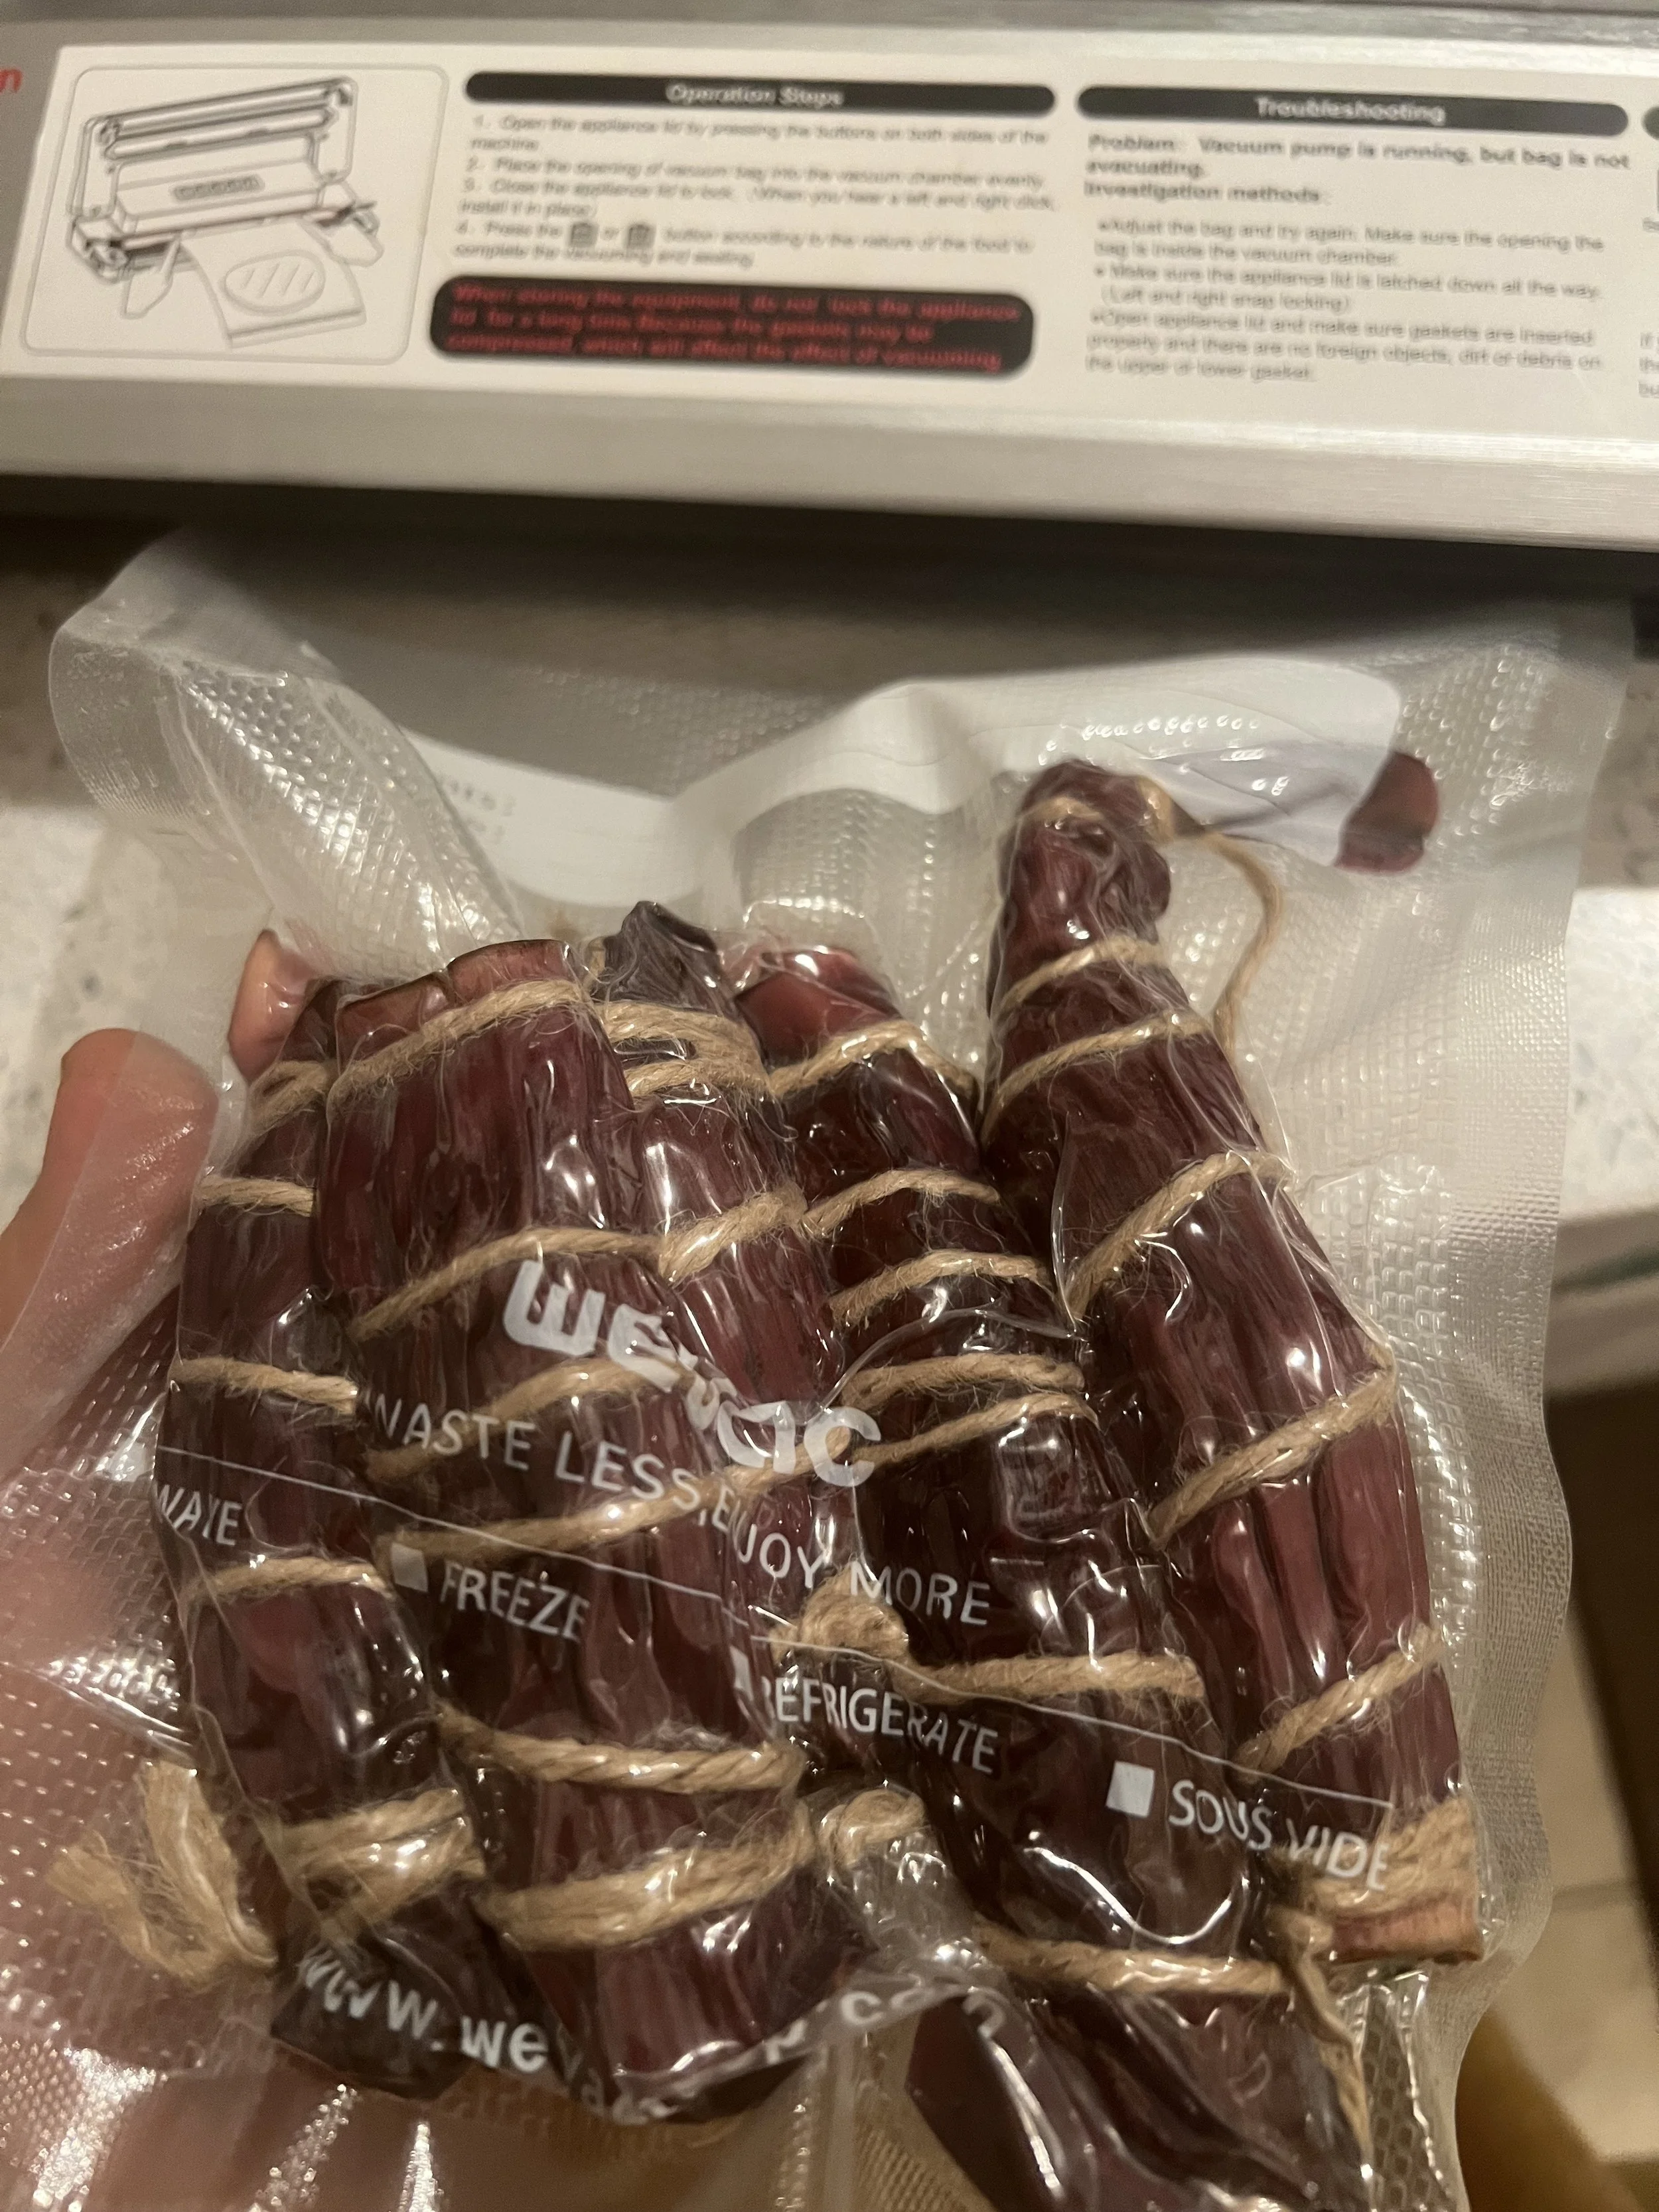
Step 4: Vacuum Sealing
Take your vacuum sealable bags and label them with the date and the name of your herb. Place the prepared cobs into the bags remove all of the air via the vacuum sealer and seal them. This will prevent any mold from forming during the sweat and cure and you must make sure all the air is removed.

Removing the air from the bag.
Vaccum sealed and ready to go
Step 5: Sweating/Cooking
Place the sealed bags into your chosen “sweat lodge”. I use a reptile egg incubator like this. Crock Pots, Instant Pots, Yogurt Makers, and even heat mats with a box placed on top will work, just make sure you can accurately monitor and set the temperature to 104-108F or 40-42C and leave for 24-48 hrs. This temperature range is perfect for fermentation during which the sugars and chlorophyll will break down and the herb will turn from green to a golden, light brown, or dark brown color. The longer and hotter the sweat the darker and more “heavy” the herb will become. By “heavy” I mean the more body effect it will have, I find this to be extremely useful for enhancing Sativa varieties. In my experience, pure Sativas like African and South American varieties that have undergone fermentation express a body compression or weightless body sensation that is wonderful. The Cooking time and exact temperature is an art not a science and is best learned through experience, everyone has their preferred method and as you practice fermentation you will find your perfect balance, so experiment and find out what you like.

Place vaccumed herb into a slow cooker filled with water
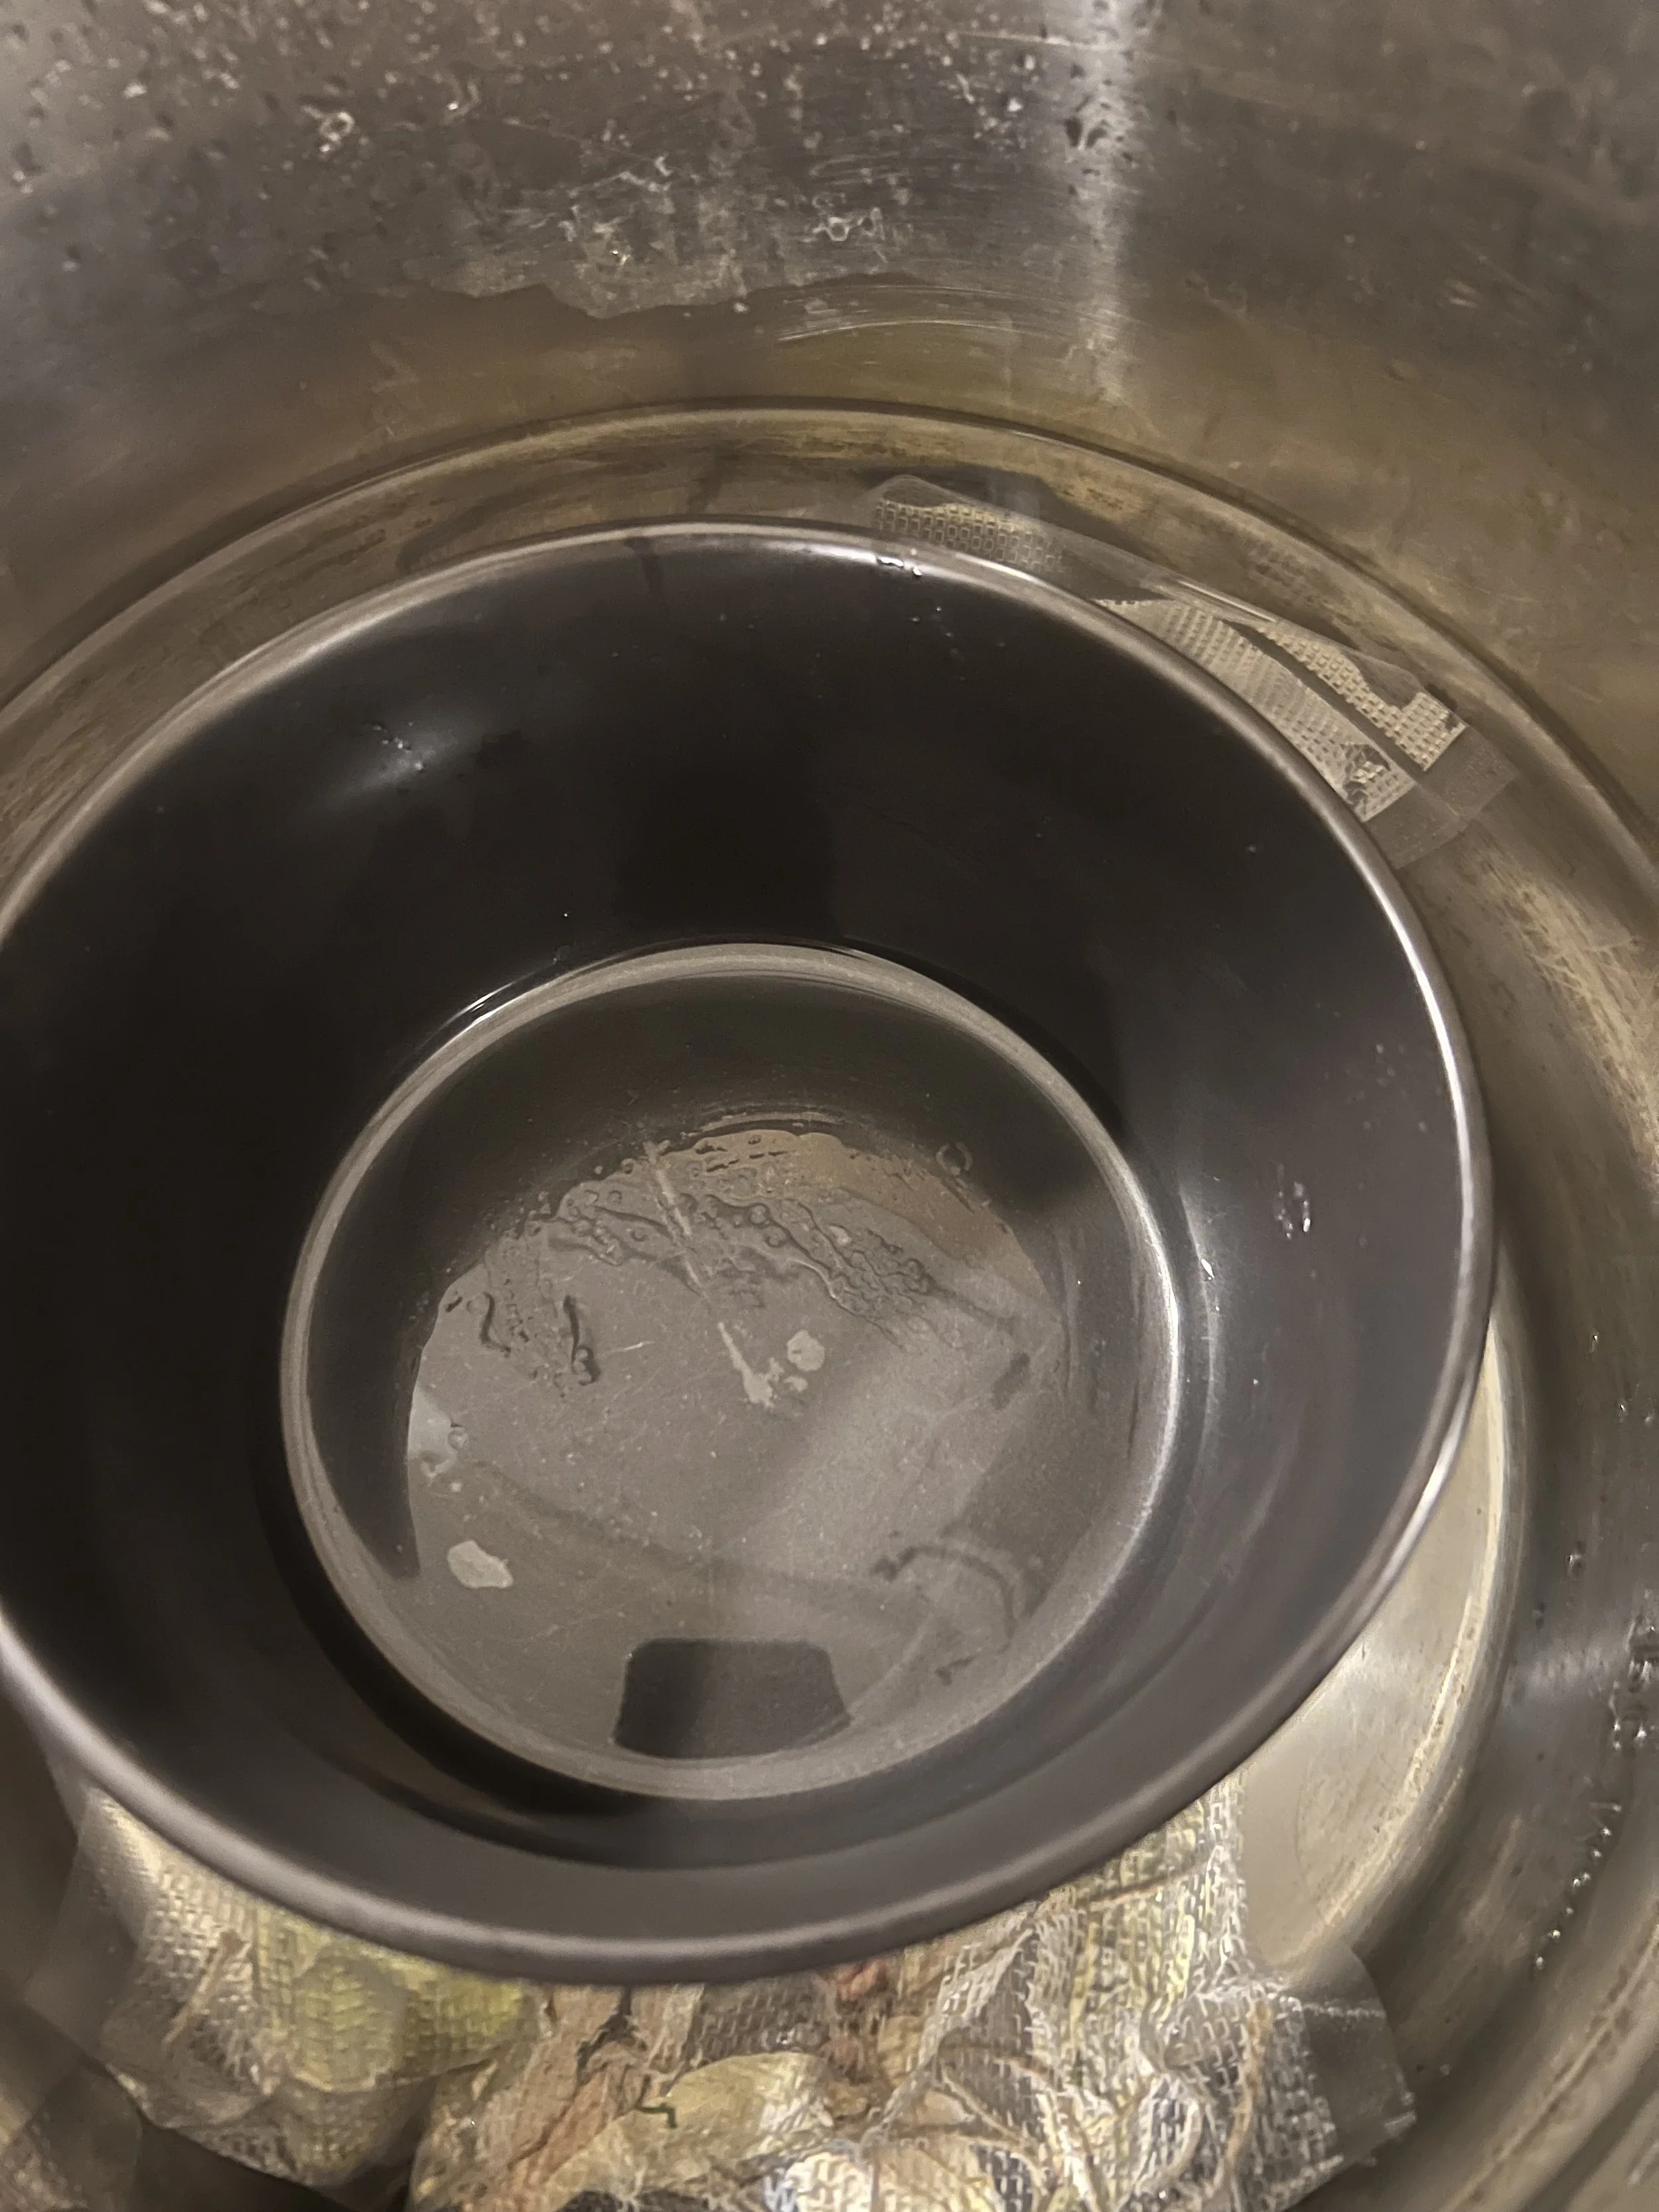
Placing a weighted object such a bowl on top of the bag allows for complete submersion and even heat distribution.
Step 6: Fermenting
After the initial sweat, it is time to open the cobs and dry them a little. If you see condensation form inside your bags then take the cobs out and dry them with a paper towel or leave them on a drying rack for a day. Then once the outside skin is dry, place them back into the bags, vacuum, and seal them again. Place them somewhere that maintains a warm 77-86F or 25-30C and leave them there for 7-14 days. This is the magical time when the microbes eat the sugars present in the plant matter, the chlorophyll is broken down to allow for a smoother smoking experience, and the cannabinoids are fully activated. Again, the duration and temperature of the fermetation affect the outcome so experience and find your niche.
Step 7: Checking and Drying
Now you can finally open one of the cobs and take a look at a finished fermentation. The herb should now be golden or brown, and smell sweet and slightly different than it did when harvested. After this point, you can completely slow-dry a cob or two for testing purposes. I recommend only taking a few cobs from your stash to sample while leaving the rest to undergo a “slow cure”. Remove all the cobs from the bags and separate your testers from the rest of the batch. Let the cobs destined to continue curing dry for a day or so until the outisde of the skin is dry again and then reseal. Write the date on the bag again and place the buds somewhere cool like in a storage bin placed in a basement, attic, garage, or closet. You will be back to check on them in 1-3 months. In my experience, cobs at this stage tend to have a more stoney or heavy effect compared to longer cured herb, which can become more bright and stimulating.
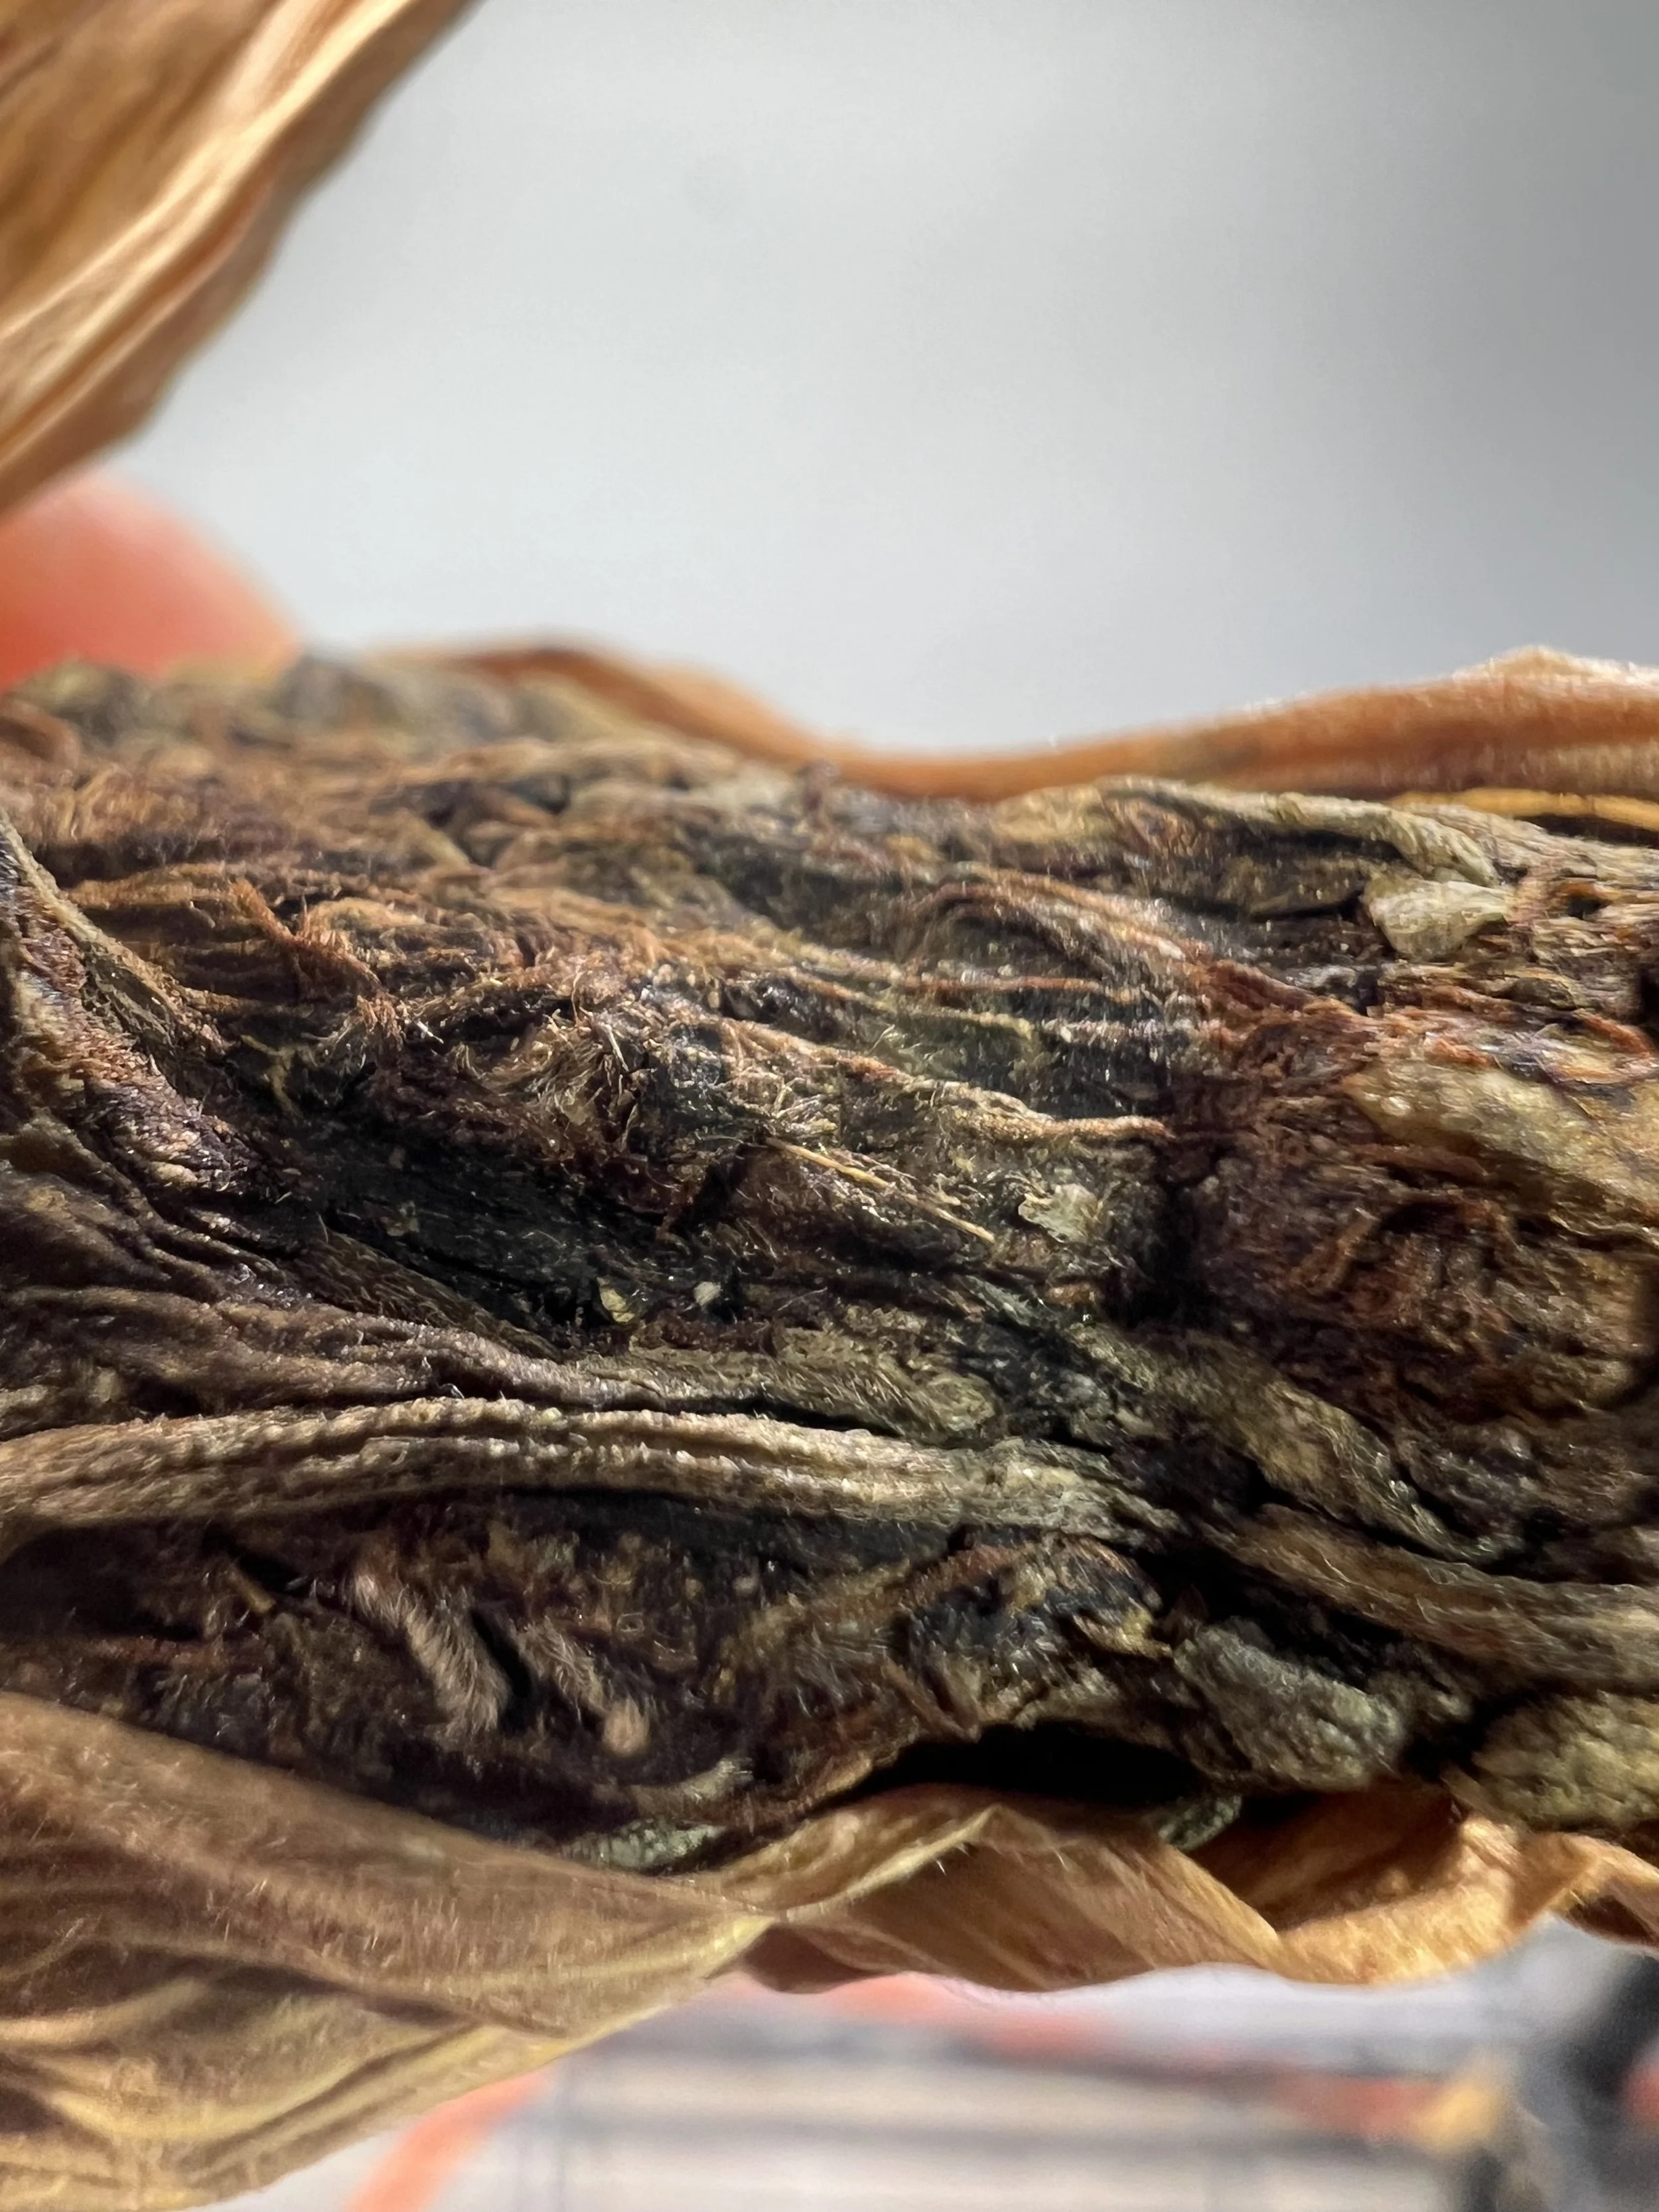
Checking in on a freshly fermented cob
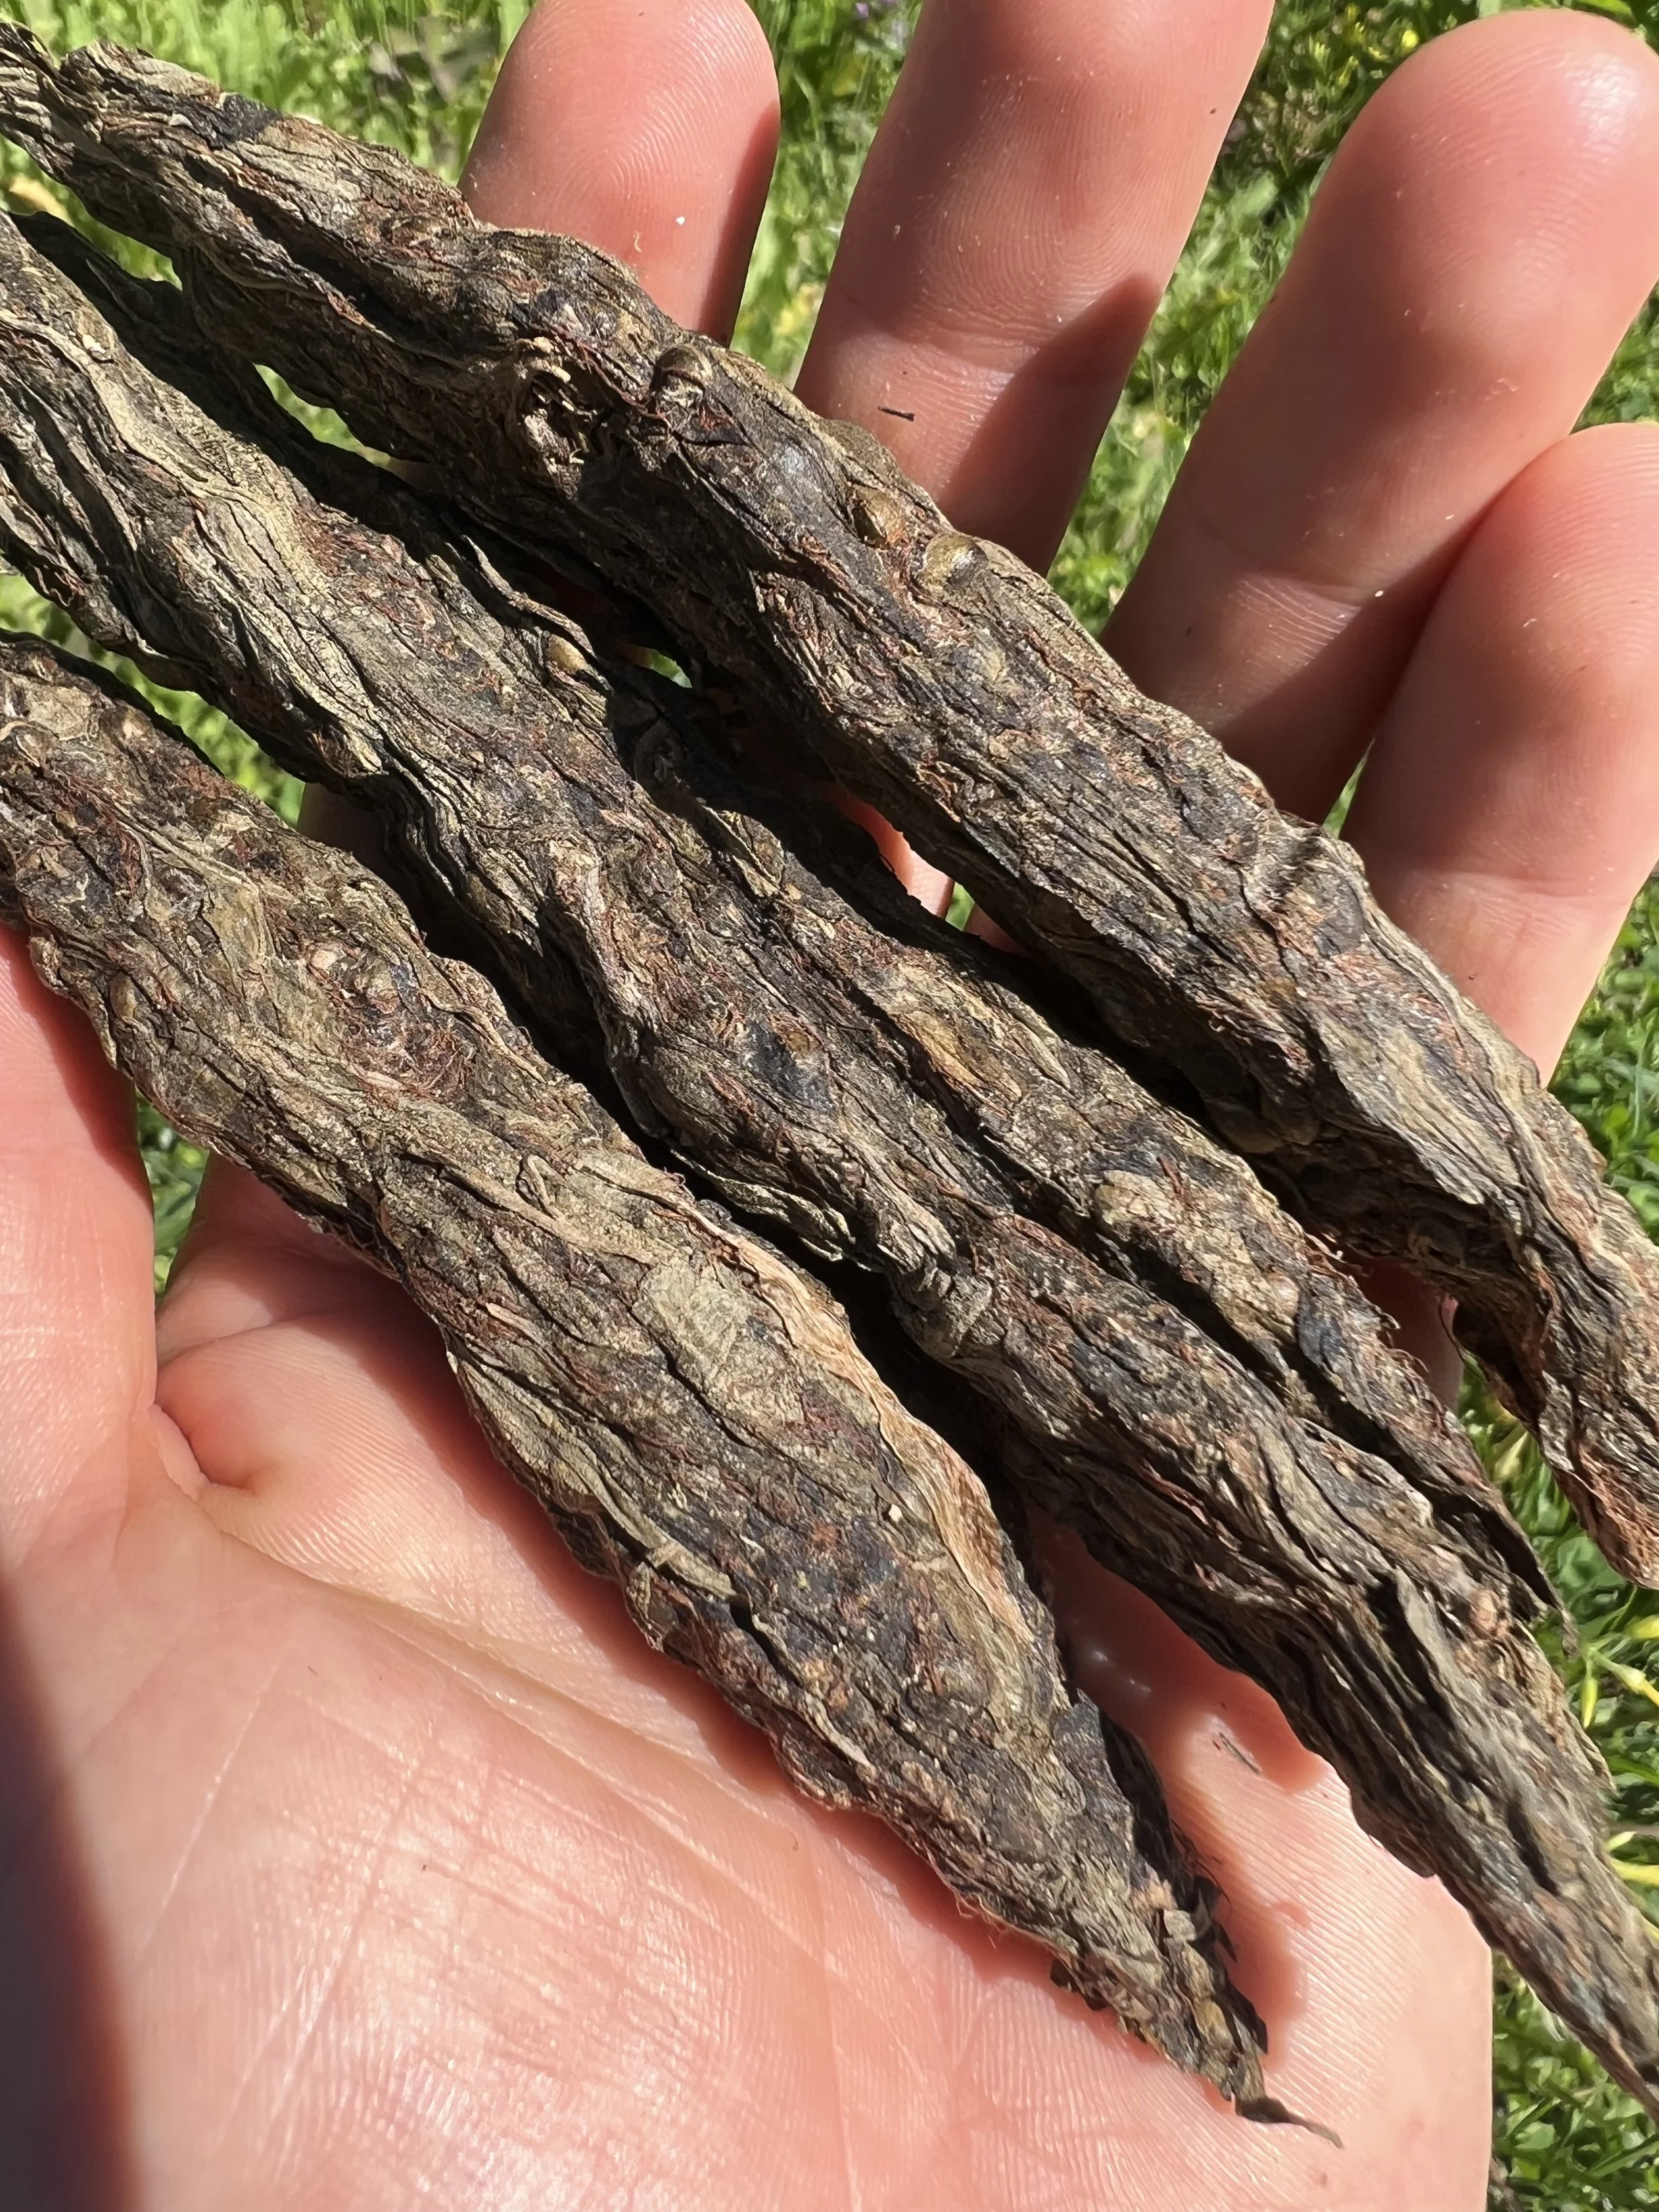
Step 8: Checking and Testing
After 1 month has passed you can open the bags and remove another tester cob, repeat the same procedure as step 7, and notice the difference in effect and experience compared to the samples from the previous month. Every month that passes will change the effect of your herb.

Cobs at the 1 month mark
Step 9: Final Drying and Storage
Once the herb is to your liking, you can open all the bags and remove all the cobs, setting them aside to slowly dry. Once completely dry you can reseal what you will not be smoking immediately and save it until it is needed. The longer it sits the better it gets, with some people preferring only 1 year and older cobs. Stored like this they can last for years. Since they have undergone fermentation they are fortified against degradation and will improve with age much like good tobacco.
6 month aged Mother's Light

6 month aged Nepalese
6 month aged Nigerian
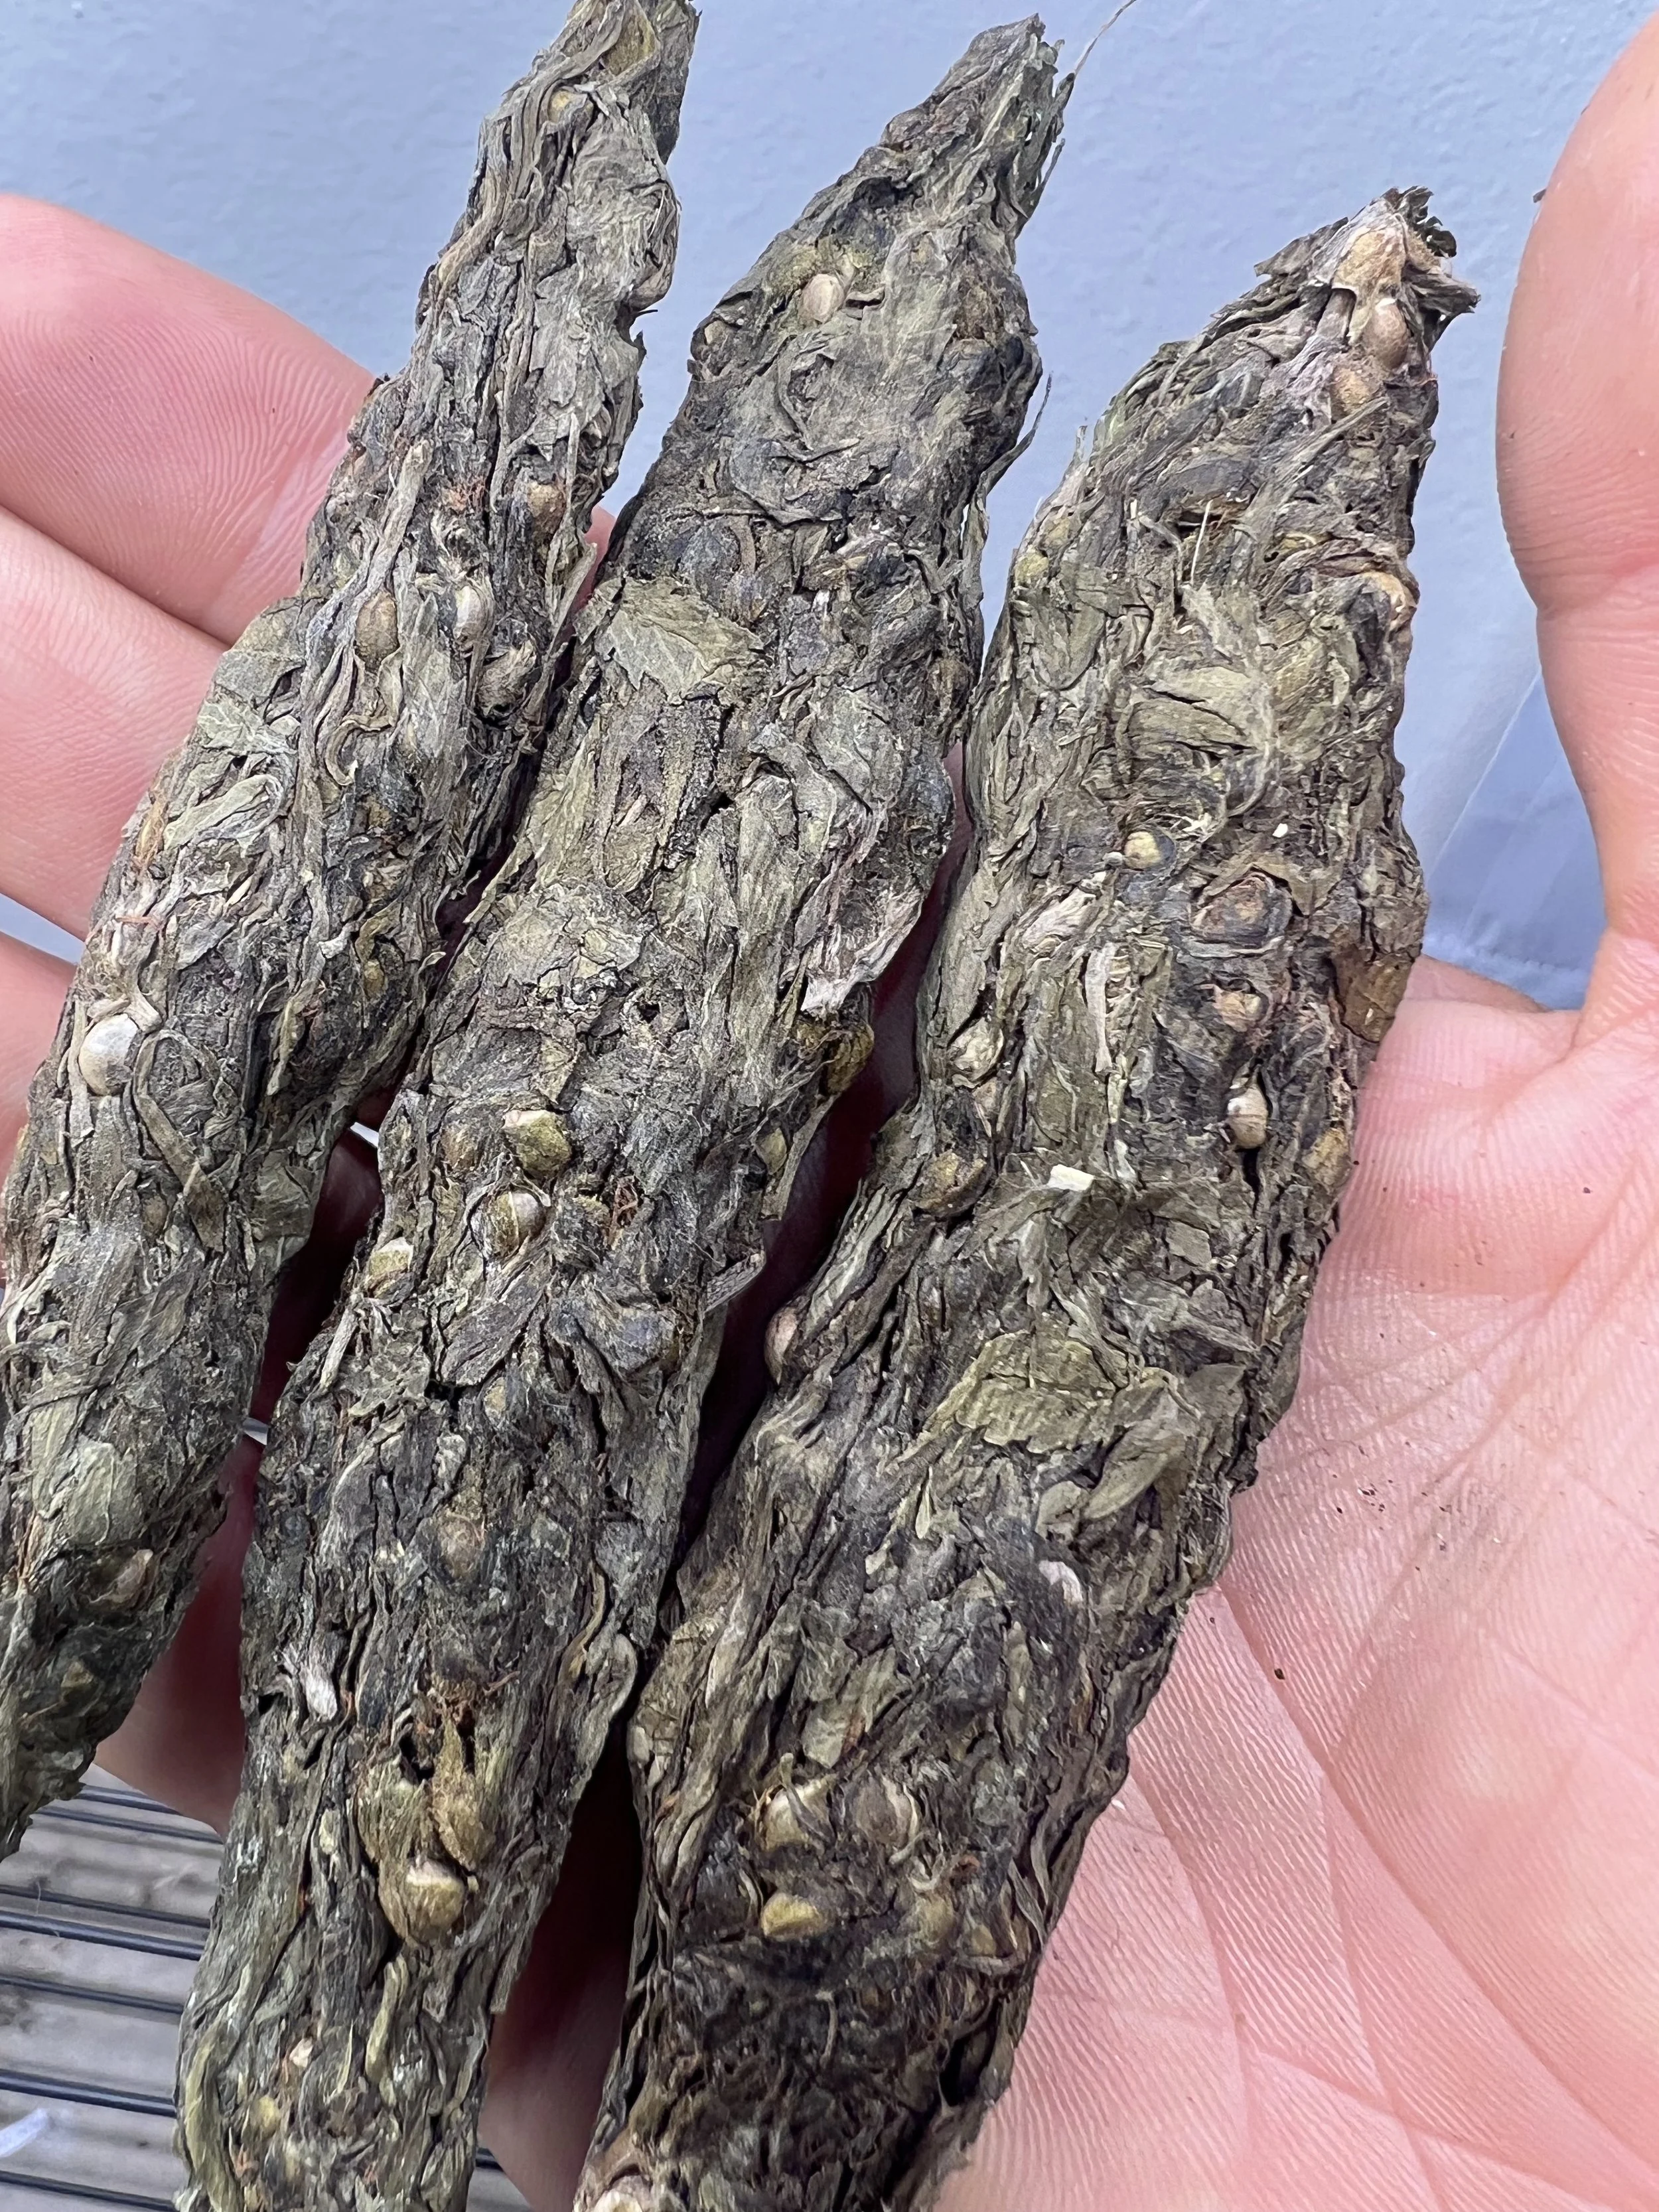
3 month aged Senegalese
Step 10: Consume and Enjoy
Now that you have the perfectly fermented, cured, and aged buds, it is time to smoke, vaporize, or eat them. While dried and jarred “green” buds are normally decarboxylated and cooked into butter or oil before being eaten, cobs require no such treatment. Simply break off a piece of cob weighing 0.25-0.5 grams or more if you feel so inclined, and chew it. Chew until the herb becomes a paste and then swallow with water, making sure to swish and get all the plant matter swallowed. The effects will be similar to smoking and very strong. This is my preferred method of consumption as it provides a very inspiring effect full of positivity, energy, and mediative connection when applied to a fermented “pure Sativa”. Keep in mind the effects experienced via this method of ingestion will be more subtle during the build up. It is best to refrain from smoking and only eat the fermented herb, to allow your system to become more sensitized to this method of ingestion. Compared to smoking, which is like blasting off in a rocket ship, eating herb like this is more akin to hiking a mountain. A long and steady build up, a beautiful soaring peak, and a smooth walk down. I have noticed that after solely eating herb, rather than inhaling it, I have benefitted more than ever from this Sacred Teacher. While smoking lasts for a few hours at most. This method allows for an experience lasting up to 10 hours or more.
I pray that this tutorial has helped you, if you have any questions please leave a comment below or email me through the contact us page. May you be happy, may you be joyful, and may the causes for your happiness increase.
🌸Om Mani Padme Hum🌸